
Shopping Cart
- Feroca
- Cosplay
- 0 likes
- 310 views
- 0 comments
Almost every cosplay piece made from EVA foam or Worbla goes through the same two stages: first it has to be shaped with heat, and then it has to be painted. For the first you need a handy heat gun; for the second, an airbrush is what makes the difference between a piece that looks "painted" and one with gradients, shadows and wear that look real. In this guide we explain how to get the most out of Feroca's Heatcraft mini heat gun and airbrush with mini compressor, and how they fit one after the other into the process of making a piece.
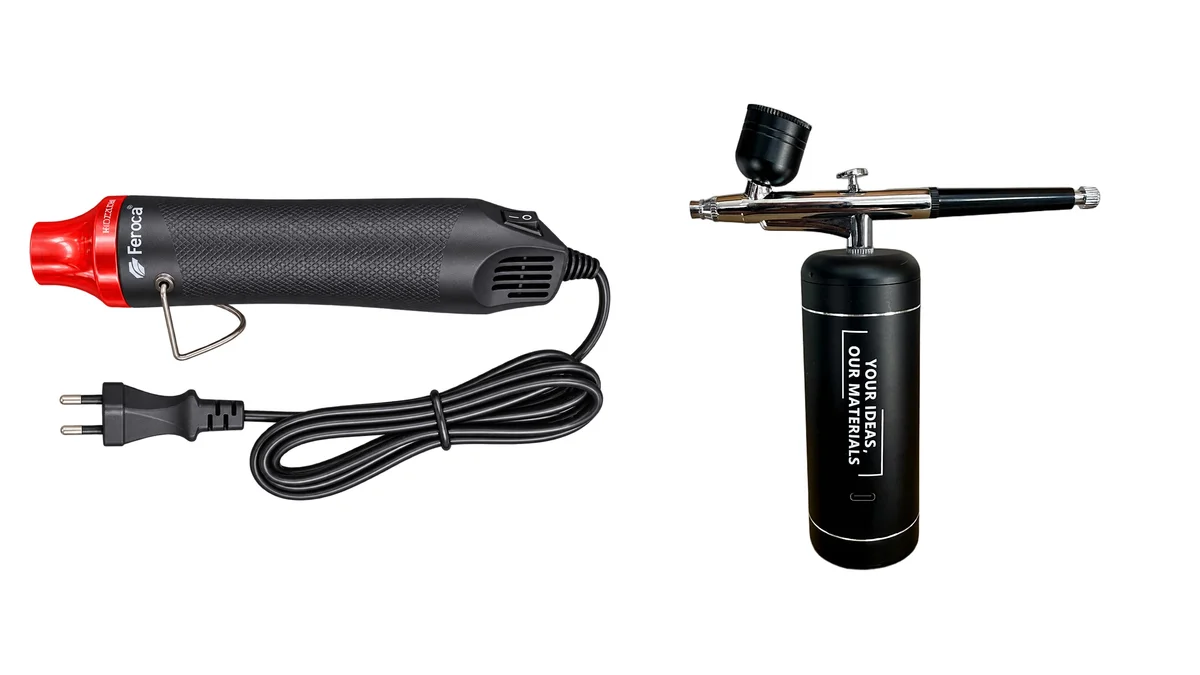
From pattern to painted piece: the workflow
The order of work is always the same, whether it is a helmet, a breastplate or a pair of pauldrons:
| Step | Tool | What you do |
|---|---|---|
| 1. Cut | Craft knife and patterns | Cut out the flat pieces from the EVA foam or Worbla |
| 2. Shape | Heatcraft | Bend, thermoform, seal edges and impress textures |
| 3. Seal and prime | Heatcraft + primer | Close the surface and create an even base for the paint |
| 4. Paint | Airbrush | Base colour, gradients, shadows and wear |
If you are just starting out, the Cosplay Starter Kit already includes the Heatcraft together with EVA foam in several thicknesses, a craft knife and a helmet pattern. And if you want to brush up on materials, take a look at our guide to EVA foam for cosplay.
The Heatcraft: shaping with heat
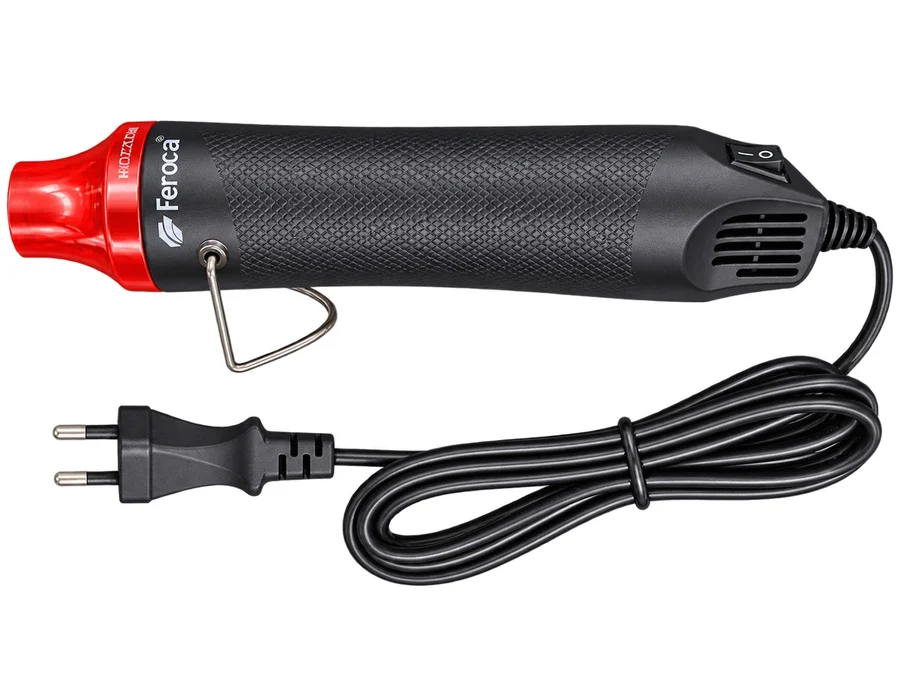
The Heatcraft is a 300 W mini heat gun designed for cosplay. Its advantage over a large paint-stripping heat gun is its size: on helmets, gauntlets and accessories with tight curves you can direct the heat exactly where you need it, without overheating the rest of the piece.
Bending EVA foam
Heat the sheet keeping the gun moving continuously, about 10-15 cm from the surface, until you feel the material give. Then bend it by hand or over a former and hold it until it cools: EVA foam keeps its shape once cool.
FRC Foam is a high-density EVA foam (156 kg/m³), heat-formable and paintable, available in three thicknesses and three colours:
| Thickness | Colours | What for |
|---|---|---|
| 2 mm | Black · Grey · White | Details, layered elements and thin pieces |
| 5 mm | Black · Grey · White | Medium thickness with good stiffness and a very good response to heat: helmets, breastplates, pauldrons |
| 10 mm | Black · Grey · White | Thick, bulky pieces |
If you want to try it out without buying large sheets, the FRC Foam XS Kit comes with 47.5 × 27.5 cm sheets in 10 and 5 mm. Choosing the sheet colour according to the final finish saves you work: on black EVA foam, a dark piece needs fewer coats of paint.
EVA profiles: trims, ribs and edges
Ready-made EVA profiles save you cutting strips by hand for the trims of a suit of armour. They come in 1-metre lengths and three diameters (10, 15 and 20 mm):
- Round profile: trims, ribs and fake pipes.
- Half-round profile: trims and edgings that sit flat on the piece.
- Triangular profile: edges, panelling and frames.
- Profile kit: all three types in all three diameters, 9 profiles in total.
To make them follow a curve, warm them with gentle heat: keep the gun moving constantly, at least 5-8 cm from the profile, and work in short 10-15 cm sections, bending them little by little over the piece or a template until they cool. Profiles soften quickly: heat concentrated on one spot creates bubbles or distorts the cross-section.
Thermoforming Worbla
Worbla is a thermoplastic that softens with heat, takes the shape you give it and hardens within minutes at room temperature. It can be reheated to make corrections, and it is reusable. Each variant has its own activation temperature:
| Worbla | Activation | What for |
|---|---|---|
| Finest Art | ≈90 °C | The benchmark thermoplastic, self-adhesive on its glossy side |
| Black Art | 90 °C | Black, self-adhesive version for dark pieces |
| Pearly Art | 90 °C | Pearl white with a very fine surface, ideal for smooth finishes |
| Meshed Art | 80-90 °C | With built-in mesh, reinforced, for applying over fabric and leather |
| Deco Art | 65 °C | Pellets, for sculpting volumes and details |
| Crystal Art | 110 °C | Clear pellets with no shrinkage, for gems and translucent pieces |
| Transpa Art | 120 °C | Clear sheet for visors, goggles and light-up pieces |
Because Transpa Art is transparent, it needs very even forming, which is hard to achieve with a heat gun. For it, and for making several identical copies of a shape, there are the A4 and A5 vacuum formers: you heat the sheet to its activation temperature and the machine, with the help of a vacuum cleaner, pulls it tight over the mould.
Sealing edges and creating textures
A quick pass of heat over the cut edges of EVA foam smooths and seals them. And if you heat the surface and press into it while it is hot, you can impress textures: scales, wrinkles, stone or battle damage.
Three golden rules
- Always keep it moving. Never hold the gun over the same spot: if the material darkens or starts to smoke, move it away immediately.
- Work in sections. On large pieces, heat and shape one area at a time instead of trying to soften the whole piece at once.
- Test on an offcut. Before touching the final piece, calibrate distance and time on a scrap of the same material. And wear heat-resistant gloves: hot EVA foam and Worbla burn.
Sealing and priming before painting
EVA foam is porous: if you paint straight onto it, it absorbs the paint unevenly and the finish ends up blotchy. Before moving on to the airbrush, prepare the surface:
- Close the surface with heat. An even pass of the Heatcraft over the whole piece leaves it smoother and sealed.
- Apply a flexible base coat to EVA foam. EVA foam flexes with use, so it needs a base that moves with it without cracking. FullDip Liquid Vinyl, which is what the Cosplay Starter Kit includes to paint and protect the helmet, creates an elastic layer over the piece. You will find more details in our FullDip guide.
- Prime rigid pieces. Worbla needs primer for the paint to grip. Grey Primer 3GEN is a self-levelling acrylic primer that goes through the airbrush as it is or with minimal thinning, and it also comes in black and white.
Caution: aerosols and many paints are flammable. Finish all the heat work before painting, do not use the heat gun near a freshly sprayed piece and always work in a well-ventilated space.
The airbrush: painting with gradients and shadows
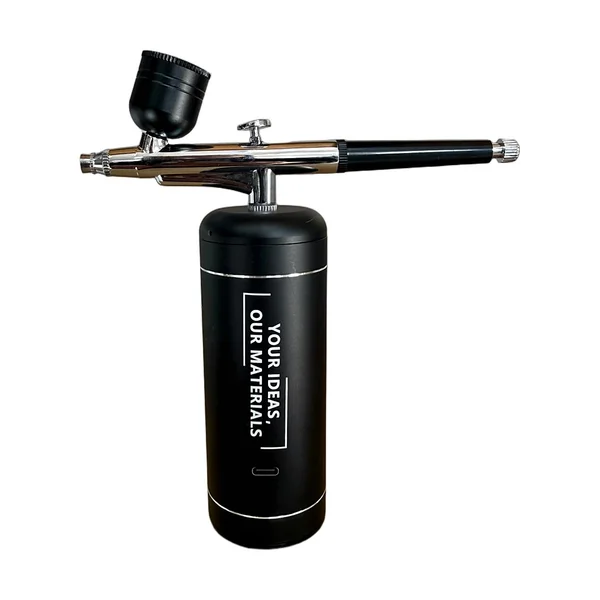
Feroca's airbrush with mini compressor is a complete kit: gravity-feed airbrush with cup, handheld compressor rechargeable via USB-C, coiled hose, extra paint pots, spare nozzle, pipette and cleaning set.
Two ways of working
- Cordless: the airbrush screws directly onto the compressor. Perfect for moving around a helmet or reaching awkward areas, and for short jobs.
- With hose: the compressor stays on the table and you only hold the airbrush. For long sessions, because it takes weight off your wrist and the heat from the motor does not reach your hand.
Three pressure settings
| Pressure | What for |
|---|---|
| 28 psi (≈1.9 bar) | Details and fine lines |
| 30 psi (≈2.1 bar) | General use |
| 40 psi (≈2.8 bar) | Large base coats and thicker paints, such as priming a large piece |
Thinning: the key to everything
The paint should have the consistency of whole milk. For acrylics, use a dedicated thinner such as Acrylic Thinner 3GEN, not water alone: it improves flow, prevents clogging and maintains adhesion. If the paint has lumps, strain it before filling the cup. Start about 10-15 cm from the piece and build up the colour in thin coats: three thin coats are always better than one thick coat that runs.
AK Interactive paints for the airbrush
AK Interactive's water-based acrylic paints in 17 ml bottles are highly pigmented and work both with a brush and with an airbrush. For the airbrush, thin them by 10 to 20 % with distilled water or Acrylic Thinner 3GEN until they reach a milk-like consistency. They are touch-dry in 15-20 minutes and it is best to wait 24 hours before varnishing or applying washes.
For armour and props, the metallic range is the most versatile:
- Gun Metal: dark steel, the base for almost any suit of armour.
- Aluminium and Dark Aluminium: bright metal and aged metal.
- Gold, Bronze and Copper: trims, ornaments and precious details. They look great on EVA profiles.
For base colours there are also whites, greys and neutrals such as White, Ivory or Medium Grey, and the whole colour range in the paints and primers category.
Three airbrush techniques for cosplay
1. Zenithal priming
Prime the whole piece in black and, once dry, spray white primer from above only, as if it were sunlight. You are left with a guide of highlights and shadows that makes the following colours look three-dimensional from the very first coat.
2. Gradients and shadows
Paint the base colour over the whole piece and, with a darker shade at low pressure, darken the recesses, the joins between plates and the underside of each volume. The airbrush blends transitions in a way that is almost impossible with a brush.
3. Wear and grime
For armour with a history, apply very thin earth tones or greys in short bursts over the edges and the areas that get rubbed. Less is more: it is easy to add grime and hard to remove it.
Cleaning and maintenance
- Between colours: empty the cup, add a few drops of cleaner and spray until it comes out clear. Perfect Cleaner is designed for acrylic paints and also lubricates the needle.
- When you finish: take out the needle and nozzle and clean them with the brushes and wires in the kit. Never store the airbrush with dried paint inside.
- If the needle has dried paint on it: do not force it. Leave it to soak in the cleaner for a few minutes and then remove the residue.
- Charge the compressor after every session, so it is always ready.
- The Heatcraft: rest it on its stand on a heat-resistant surface and let it cool before putting it away.
Common mistakes
| Problem | Cause | Solution |
|---|---|---|
| The EVA foam darkens or bubbles | Heat held on one spot or gun too close | Keep the gun moving and at 10-15 cm |
| The piece loses its curve | Letting go of it before it cools | Hold the shape until the material is cold |
| The paint looks blotchy on EVA foam | Porous, unsealed surface | Seal with heat and apply a base coat before the colour |
| The paint cracks when the piece bends | Rigid base coat on a flexible material | Use an elastic base such as FullDip on EVA foam |
| The airbrush spits or clogs | Paint too thick or lumpy | Thin to a milk-like consistency with thinner and strain |
| Drips and runs | Too much paint at once or airbrush too close | Thin coats at 10-15 cm, letting each coat dry |
If you want to see the whole process applied to a specific piece, check out our EVA foam cosplay helmet tutorial.
Frequently asked questions
What heat gun do I need for cosplay?
For EVA foam and Worbla, a mini heat gun such as the 300 W Heatcraft is all you need. It provides enough heat to soften both materials and, thanks to its compact size, it is more precise than a large heat gun on tight curves and small pieces.
At what temperature is Worbla moulded?
Worbla's Finest Art activates at around 90 °C. It is heated with a hot-air gun until the sheet becomes flexible, then shaped, and it hardens within minutes at room temperature. It can be reheated to correct the shape.
Can EVA foam be painted with an airbrush?
Yes, and it is the easiest way to achieve gradients and shadows. First you need to seal the EVA foam, with heat and a flexible base such as FullDip, so that it does not absorb the paint unevenly or crack when it bends.
How much should I thin paint for the airbrush?
Until it has the consistency of whole milk. For acrylics, use a dedicated thinner such as Acrylic Thinner 3GEN rather than water alone: it improves flow and prevents clogging. If the paint has lumps, strain it before filling the cup.
What airbrush pressure should I use for cosplay?
With Feroca's airbrush with mini compressor: 28 psi for details and fine lines, 30 psi for general use and 40 psi for large base coats or thicker paints, such as priming a large piece.
What paint should I use in the airbrush for cosplay?
Water-based acrylic paints suitable for airbrushing, such as AK Interactive's 17 ml range, thinned by 10 to 20 % to a milk-like consistency. For armour, metallics such as Gun Metal, Aluminium or Gold give a satin metallic finish.
How do you clean an airbrush?
Between colours, by spraying cleaner until it comes out clear. When you finish, by taking out the needle and nozzle and cleaning them with the brushes and wires in the kit. For acrylic paints, Perfect Cleaner cleans and also lubricates the needle.
Comments (0)