Shopping Cart

Transparent epoxy resins for encapsulation
Epoxy resin is the go-to material when you need transparency, hardness and long-term stability. Depending on your project you'll choose one formulation or another: there are low-viscosity resins for thin pours and jewellery, high-thickness resins for blocks and tables, and fast-cure versions when time is a key factor.
Encapsulation of jewellery and small pieces
For jewellery, costume jewellery and small decorative objects you need a resin with excellent optical clarity, good self-levelling and the least possible heat generation during curing. These two products are the most widely used in this segment:
 ClearWater Epoxi
Transparent, 1:1 mix, ideal for jewellery and art.
ClearWater Epoxi
Transparent, 1:1 mix, ideal for jewellery and art.
 ClearWater Epoxi Super Fast
Fast cure in 1–2 h, 80D hardness.
ClearWater Epoxi Super Fast
Fast cure in 1–2 h, 80D hardness.
 Epofer EX201+E202 -Top Coat Epoxi-
Transparent top coat for jewellery and costume jewellery.
Epofer EX201+E202 -Top Coat Epoxi-
Transparent top coat for jewellery and costume jewellery.
High-thickness encapsulation and decorative tables
When your project requires pours of several centimetres — sculptural blocks, river tables, large-format encapsulations — you need a resin formulated to dissipate reaction heat without generating internal stresses or yellowing. ClearWater Deep Pour is designed exactly for this:
 ClearWater Deep Pour Epoxi
Up to 12 cm thick in a single pour.
ClearWater Deep Pour Epoxi
Up to 12 cm thick in a single pour.
 Epofer Carbon 402
Epoxy with UV filter for high-quality laminates.
Epofer Carbon 402
Epoxy with UV filter for high-quality laminates.
Doming: the resin drop
Doming involves depositing a convex layer of resin onto a flat surface — labels, badges, printed jewellery — to achieve that characteristic domed, glossy finish. There are two variants depending on the final result you're after:
 ClearWater Epoxi Doming Flexible
Flexible resin drop, absorbs impacts.
ClearWater Epoxi Doming Flexible
Flexible resin drop, absorbs impacts.
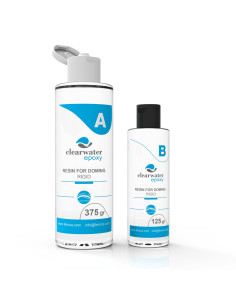 ClearWater Epoxi Doming Rígida
Rigid resin drop, hard crystalline finish.
ClearWater Epoxi Doming Rígida
Rigid resin drop, hard crystalline finish.
 ClearWater UV Resin Adhesive
Single-component UV resin, fast cure under lamp.
ClearWater UV Resin Adhesive
Single-component UV resin, fast cure under lamp.
Note on food-safe resin: If the decorative object will come into contact with food — trays, chocolate moulds, kitchen surfaces — use EpoFood, the only colourless epoxy resin in our range certified for food contact.
Silicone with water, ice and crystal effect
For decorative scenes that simulate still water, ice or glassy surfaces, transparent platinum silicones offer a flexibility that rigid resin cannot provide: they can be bent, cut and repositioned without breaking. They are especially popular in dioramas, window displays and product photography.
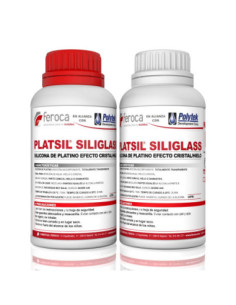 PlatSil SiliGlass
Simulates water, ice or crystal with Shore A40.
PlatSil SiliGlass
Simulates water, ice or crystal with Shore A40.
 Easy Crystal
Transparent Shore A25 silicone for visual effects.
Easy Crystal
Transparent Shore A25 silicone for visual effects.
 EasyPlat ACQUA
Transparent Shore A25, cures in 5 h.
EasyPlat ACQUA
Transparent Shore A25, cures in 5 h.
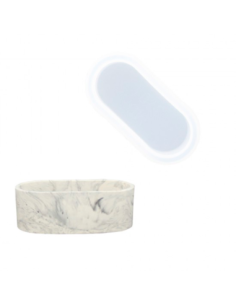
Silicone moulds for decorative pieces
If you're going to produce pieces in series — candleholders, plant pots, boxes, plates — ready-to-use platinum silicone moulds let you start pouring without having to make the mould from scratch. They are compatible with epoxy, acrylic and polyurethane resins, and don't require release agent.
 Silicone mould - OVAL PLATE
Oval plate 18×9.5 cm for decorative resins.
Silicone mould - OVAL PLATE
Oval plate 18×9.5 cm for decorative resins.
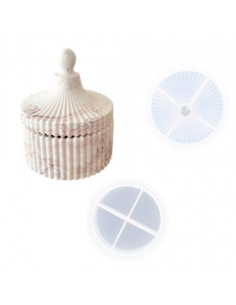 Silicone mould - STORAGE BOX
2-piece mould for box with lid.
Silicone mould - STORAGE BOX
2-piece mould for box with lid.
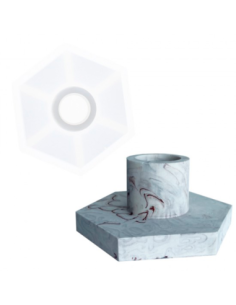 Silicone mould - CANDLEHOLDER
Candleholder 10×5×8.2 cm, suitable for epoxy.
Silicone mould - CANDLEHOLDER
Candleholder 10×5×8.2 cm, suitable for epoxy.
 Silicone mould - OVAL PLANT POT
Oval plant pot, ideal for decorative resins.
Silicone mould - OVAL PLANT POT
Oval plant pot, ideal for decorative resins.
If you need a custom-shaped mould, you can make it yourself with platinum silicones from our range. For decorative pieces with simple geometry, EASYPLAT MOLD-40 is a good starting option; for more complex geometries or undercuts, EASYPLAT 00-30 offers the softness needed to demould without damaging the piece.
Pigments and dyes for decorative resins
Colour is a fundamental part of any decorative piece. At Feroca you have three families of dyes depending on the effect you're looking for: opaque pigments for solid colours, translucent dyes to maintain the depth of the resin, and pearlescent or metallic pigments for shimmer and lustre effects.
Solid and opaque colours
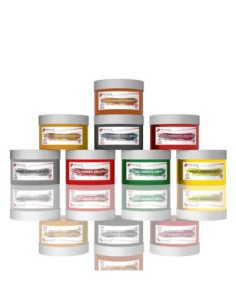
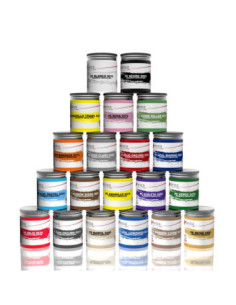 Paste Pigment
High concentration, opaque colours for bulk resins.
Paste Pigment
High concentration, opaque colours for bulk resins.
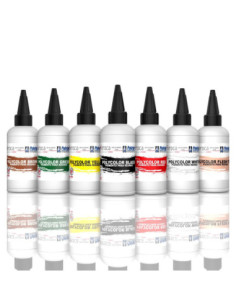 PolyColor Dyes
Oil-based liquid pigments, highly concentrated.
PolyColor Dyes
Oil-based liquid pigments, highly concentrated.
Translucent colours and alcohol inks
 UltraColor
Translucent dyes for epoxy, polyester and polyurethane.
UltraColor
Translucent dyes for epoxy, polyester and polyurethane.
 Piñata -Alcohol Inks-
Saturated inks, fast drying, resin-resistant.
Piñata -Alcohol Inks-
Saturated inks, fast drying, resin-resistant.
Metallic, pearlescent and glitter effects
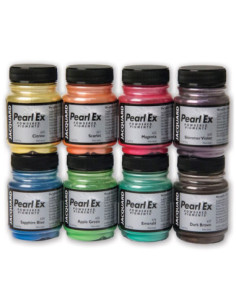 Pearl Ex Powder Pigments
Pearlescent and metallic, inert and stable in resin.
Pearl Ex Powder Pigments
Pearlescent and metallic, inert and stable in resin.
 Magic Powder
Synthetic powder for bright metallic effects.
Magic Powder
Synthetic powder for bright metallic effects.
Decorative inclusions: crystals and spheres
Inclusions are one of the most valued resources in decorative resin: dried flowers, metals, sheets and also crystal elements that, when trapped in the mass, create unique depth and refraction effects. You can sand and polish them together with the resin to achieve completely flush, glossy surfaces.
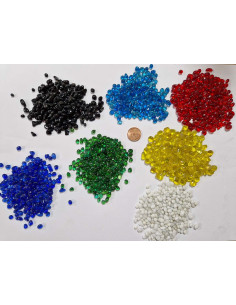 CRYSTAL PEARLS
Glass spheres 3–6 mm for encapsulating in resin.
CRYSTAL PEARLS
Glass spheres 3–6 mm for encapsulating in resin.
 CRYSTAL CRUSH
Crushed coloured crystals, size 4–8 mm.
CRYSTAL CRUSH
Crushed coloured crystals, size 4–8 mm.
Finishing and polishing resin pieces
Once the piece is demoulded, the surface finish makes the difference between an amateur result and a professional one. The usual process involves progressively sanding with wet-and-dry paper (from grit 400 to 2000) and finishing with polishing compounds that restore the mirror shine to the resin.
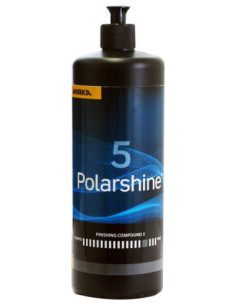 PolarShine 5
Water-based finishing compound, mirror shine.
PolarShine 5
Water-based finishing compound, mirror shine.
 PolarShine 10
Medium grit, removes marks and fine scratches.
PolarShine 10
Medium grit, removes marks and fine scratches.
 PolarShine 35
Coarse grit for removing deep scratches.
PolarShine 35
Coarse grit for removing deep scratches.
To clean tools, mixing cups and moulds before the resin fully cures, use Epoxi Cleaner. Once the resin has gelled, mechanical cleaning is the only effective option.
Comparison table of epoxy resins for decoration
| Resin | Maximum thickness | Mix ratio (A:B by weight) | Working time | Main use |
|---|---|---|---|---|
| ClearWater Epoxi | Up to ~1 cm | 100:100 | 30 min | Jewellery, costume jewellery, small objects |
| ClearWater Epoxi Super Fast | Up to ~1 cm | 100:100 | ~15 min | Fast production, short runs |
| ClearWater Deep Pour | Up to 12 cm | 100:33 | Variable | River tables, blocks, large formats |
| ClearWater Doming Flexible | Thin layer | 100:30 | 25 min | Flexible doming, labels, jewellery |
| ClearWater Doming Rígida | Thin layer | 100:30 | 25 min | Rigid doming, hard finish |
| Epofer EX201+E202 | Top coat | 100:60 | 25 min | Final coating for jewellery |
Frequently asked questions about resin encapsulation and decoration
What epoxy resin should I use to encapsulate dried flowers?
For dried flowers the most common approach is to combine two resins: first a thin layer of ClearWater Epoxi as a base to fix the flower in position, and then one or more layers of the same resin to complete the encapsulation. If the object is more than 2 cm tall, ClearWater Deep Pour lets you finish the job in a single pour without the risk of thermal distortion.
Can I colour a transparent epoxy resin without losing clarity?
Yes, as long as you use dyes formulated for resin and add them in the right proportion. UltraColor and Piñata are translucent dyes that maintain the visual depth of the resin. If you want a metallic effect without losing shine, Pearl Ex or Magic Powder are a good option. Avoid adding more than 3–5% pigment of the total mix so as not to alter the mechanical properties.
How do I get rid of air bubbles in an epoxy resin pour?
Bubbles are generated mainly during mixing. To minimise them, mix slowly with circular movements and scrape the sides of the cup. If you have a vacuum chamber, degas the mix before pouring. An alternative method is to apply gentle heat with a heat gun or bookbinding torch during the first few minutes after pouring: the heat reduces the viscosity of the resin and the bubbles rise and burst at the surface. With ClearWater Deep Pour this step is especially important due to the large volume of mix.
Does epoxy resin yellow over time?
All epoxy resins have some sensitivity to UV rays, although modern formulations include inhibitors that noticeably delay yellowing. To maximise the lifespan of your pieces, avoid direct and prolonged exposure to sunlight. If the object is going to be in a shop window or outdoors, apply a final coat of UV-filter varnish. Epofer Carbon 402 already incorporates a UV filter in its formulation.
What is the difference between flexible and rigid doming?
The flexible version is softer once cured (approximately Shore A65) and absorbs knocks and impacts better, making it suitable for frequently worn jewellery or surfaces that flex. The rigid version achieves greater hardness and offers better scratch resistance, making it the preferred choice for signage, badges and permanent labels.
Do I need release agent to use silicone moulds with epoxy resin?
Generally, no. Platinum silicone moulds do not bond to epoxy resins and allow demoulding without additional agents. If you find the piece resists demoulding — especially with geometries featuring long vertical walls — a light application of petroleum jelly or carnauba wax is sufficient. Never use silicone-based release sprays on silicone moulds, as they can leave residues that affect the curing of subsequent pours.
How do I achieve a mirror-bright finish on my resin pieces?
The polishing process has three phases: first sand the surface with wet-and-dry paper progressing from grit 400 to 2000; then apply PolarShine 35 with a cloth or polisher to remove sanding marks; next use PolarShine 10 to refine; and finish with PolarShine 5 for the final mirror finish. If the piece comes straight from the mould with no surface defects, you can skip the sanding and go directly to PolarShine 10.