Shopping Cart


ClearWater UV Resin Adhesive
405810001
€8.00
9,68 € Tax incl.
9,68 € Tax incl.
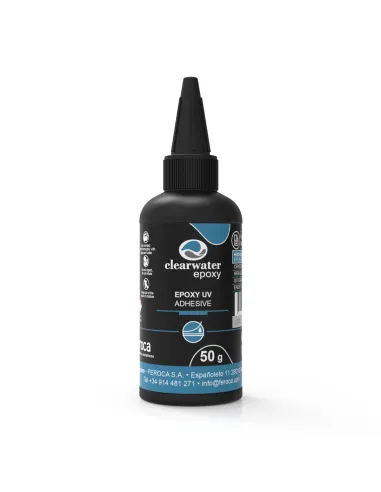
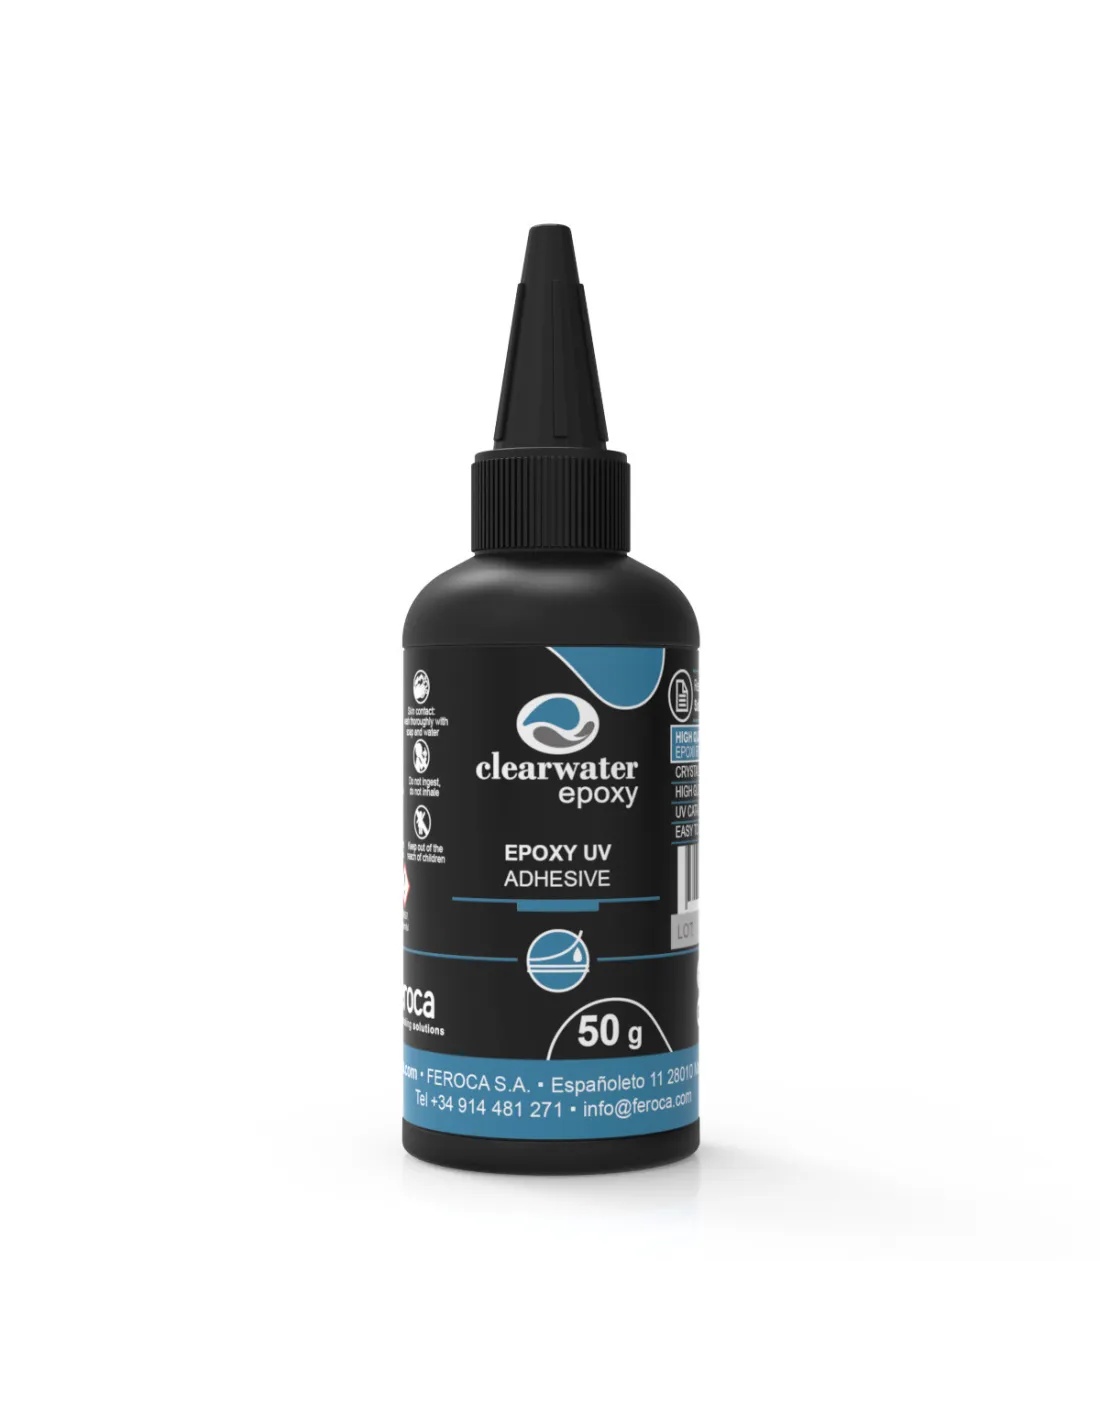
Single-component transparent UV resin with a glass-like finish. Fast curing under UV light. Includes rechargeable UV torch. 50 g container.
ClearWater UV Resin Adhesive is a single-component UV acrylic resin, crystal-clear with a glass-like finish, developed exclusively by Feroca. No component mixing required — apply directly and cure in minutes under ultraviolet light, making it a fast and precise tool for jewellery, art, scale modelling and 3D printing repairs. The kit includes a rechargeable UV torch with cable and battery.
Technical specifications
| Parameter | Value |
|---|---|
| Resin type | Single-component UV acrylic |
| Colour / appearance | Colourless transparent, glass-like finish |
| Container contents | 50 g |
| Curing method | Ultraviolet light (direct sunlight or UV lamp) |
| Pre-mixing | Not required — single-component system |
| Yellowing | Non-yellowing |
| Applications | Jewellery, art, scale modelling, 3D printing, glasswork |
| Additional contents | Rechargeable UV torch (cable + battery included) |
What it is used for
ClearWater UV Resin Adhesive is designed for work that demands precision, transparency and controlled curing. Being a single-component system, it eliminates the risk of mixing ratio errors and allows you to work comfortably with long open times, curing only when exposed to UV light.
- Jewellery making: pendants, bracelets, rings, earrings and filled bezels
- Creating gems, cabochons and glass effects in silicone moulds
- Art and crafts: encapsulating flowers, insects or decorative objects in resin
- Glasswork and stained glass: sealing and filling pieces with an optical finish
- Scale modelling: transparent adhesive and filling imperfections in parts
- Repairing and bonding 3D printed parts requiring transparency or strength
- DIY fishing lures and decorative items with encapsulated elements
- High-gloss surface finishing on small-format pieces
How to use it
- Prepare the surface or mould. Make sure the part or mould is clean, dry and dust-free. If using a silicone mould, no release agent is needed. For other non-porous surfaces, test adhesion on a small area before proceeding.
- Apply the resin. Pour or deposit the required amount of ClearWater UV directly onto the area to be treated. Being a low-viscosity liquid, it can be applied using the bottle's own dispenser, a toothpick or a syringe for greater precision.
- Spread and adjust. Spread the resin with a toothpick or spatula if you need to cover surfaces or remove bubbles. Small bubbles can be popped by briefly passing the flame of a lighter at a safe distance, or by blowing through a straw.
- Cure with the included UV torch. Expose the piece to UV light (included torch or direct sunlight). Curing time depends on the power of the UV source and the layer thickness — thin layers typically require 1–3 minutes with the torch. Thicker layers may require curing in successive layers.
- Check the cure. The cured resin should be hard to the touch with no surface tackiness. If tackiness persists, apply more UV exposure time or work in thinner layers.
- Demould or finish. Once cured, carefully remove the piece from the mould. For an extra glossy finish, apply an additional thin coat of ClearWater UV and cure again.
Warning: ClearWater UV Resin Adhesive is a UV acrylic resin. Work in a well-ventilated area and avoid prolonged contact with skin and eyes — wear nitrile gloves. Do not expose the container to intense UV light during storage, as this may cause partial curing inside the bottle. Store in a cool, dry place away from direct sunlight. In case of eye contact, rinse thoroughly with water and consult a specialist.
Usage tips
Work in layers for thicker pieces
UV light has difficulty penetrating very thick layers. If you need to fill a mould of some depth, pour and cure the resin in successive layers of 2–4 mm. Each layer must be fully cured before adding the next. This process prevents soft spots inside the piece and reduces the formation of trapped bubbles.
Remove bubbles before curing
After applying the resin and before activating the UV light, you have free working time. You can remove surface bubbles by briefly passing the heat of a lighter approximately 10–15 cm away (without burning the resin) or using a heat gun on a low setting. You can also leave the piece to rest for a few minutes so bubbles rise to the surface on their own.
Pigmentation and decorative effects
ClearWater UV accepts the incorporation of pigments compatible with UV or epoxy resins in small quantities before curing. If you want to add colour, mix the pigment into a small amount of resin before pouring. For water effects, glass effects or encapsulating decorative elements (dried flowers, glitter, gold leaf sheets), place the element in the mould, cover with resin and cure. Note that some solvent-based pigments or very dark materials may reduce UV light penetration and require longer exposure times.
Frequently asked questions
Do I need to mix this resin with a hardener?
No. ClearWater UV Resin Adhesive is a single-component system: use it as-is, without adding any catalyst or hardener. Curing is activated solely by exposure to ultraviolet light, giving you free working time to place, adjust and remove bubbles before fixing the piece.
What UV light source can I use to cure the resin?
ClearWater UV includes a rechargeable UV torch in the kit. You can also use direct sunlight on sunny days (although curing time is less predictable) or nail art UV lamps between 9 and 36 W. The higher the power of the source, the faster the cure. Avoid exposing the open container to the UV source for too long to prevent wasting material.
What materials does this resin bond well to?
ClearWater UV bonds well to glass, metal, non-porous plastics (including PLA and 3D printing resins), varnished wood and polished stone. Adhesion on porous or very rough surfaces may be more variable. For critical surfaces, always carry out an adhesion test before the final work.
Can I use it to simulate water or liquid effects in scale models?
Yes, ClearWater UV is suitable for small-format water effects thanks to its transparency and glossy finish. For larger volumes or layers exceeding 4–5 mm, work in successive layers. If you need to fill large volumes in a single pour, two-component deep-pour epoxy resins are more appropriate.
Does the finished piece resist heat?
The thermal resistance of ClearWater UV is moderate, as is typical of UV acrylic resins. It is not suitable for applications that will be in direct contact with high heat (such as candle holders with a flame or areas near heat sources). For decorative or jewellery use at room temperature, the resistance is sufficient.
How can I add colour to the resin?
You can add powder or liquid pigments compatible with UV or epoxy resins directly into the resin before curing. Mix thoroughly and in small proportions to avoid affecting the cure. Note that very dark or dense colours may absorb UV light and slow down the process, so in those cases it is advisable to use thinner layers and increase exposure time.
How should this product be stored correctly?
Store the container tightly closed, in a cool, dry place away from direct sunlight and UV light sources. Accidental exposure to light can initiate curing inside the bottle. Once opened, close the cap immediately after each use and check that no residue remains in the nozzle to avoid blockages.
Can I use silicone moulds with this resin?
Yes, silicone moulds are the ideal support for ClearWater UV. The resin does not adhere to silicone, making demoulding easy without the need for a release agent. Make sure the mould is sufficiently transparent or thin for UV light to penetrate, or expose the underside of the mould to the light source as well.
- Color
- Transparent
- Type
- Resin
- Application
- 3D
Art
Jewelry
No reviews
Tap to zoom