Shopping Cart
")
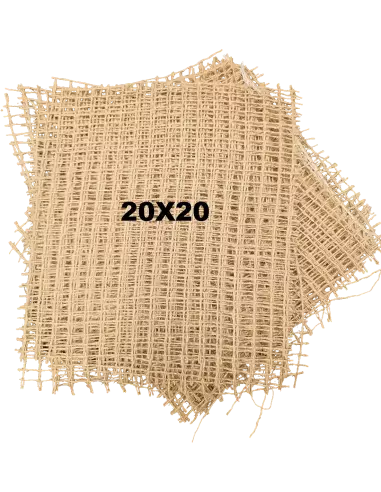
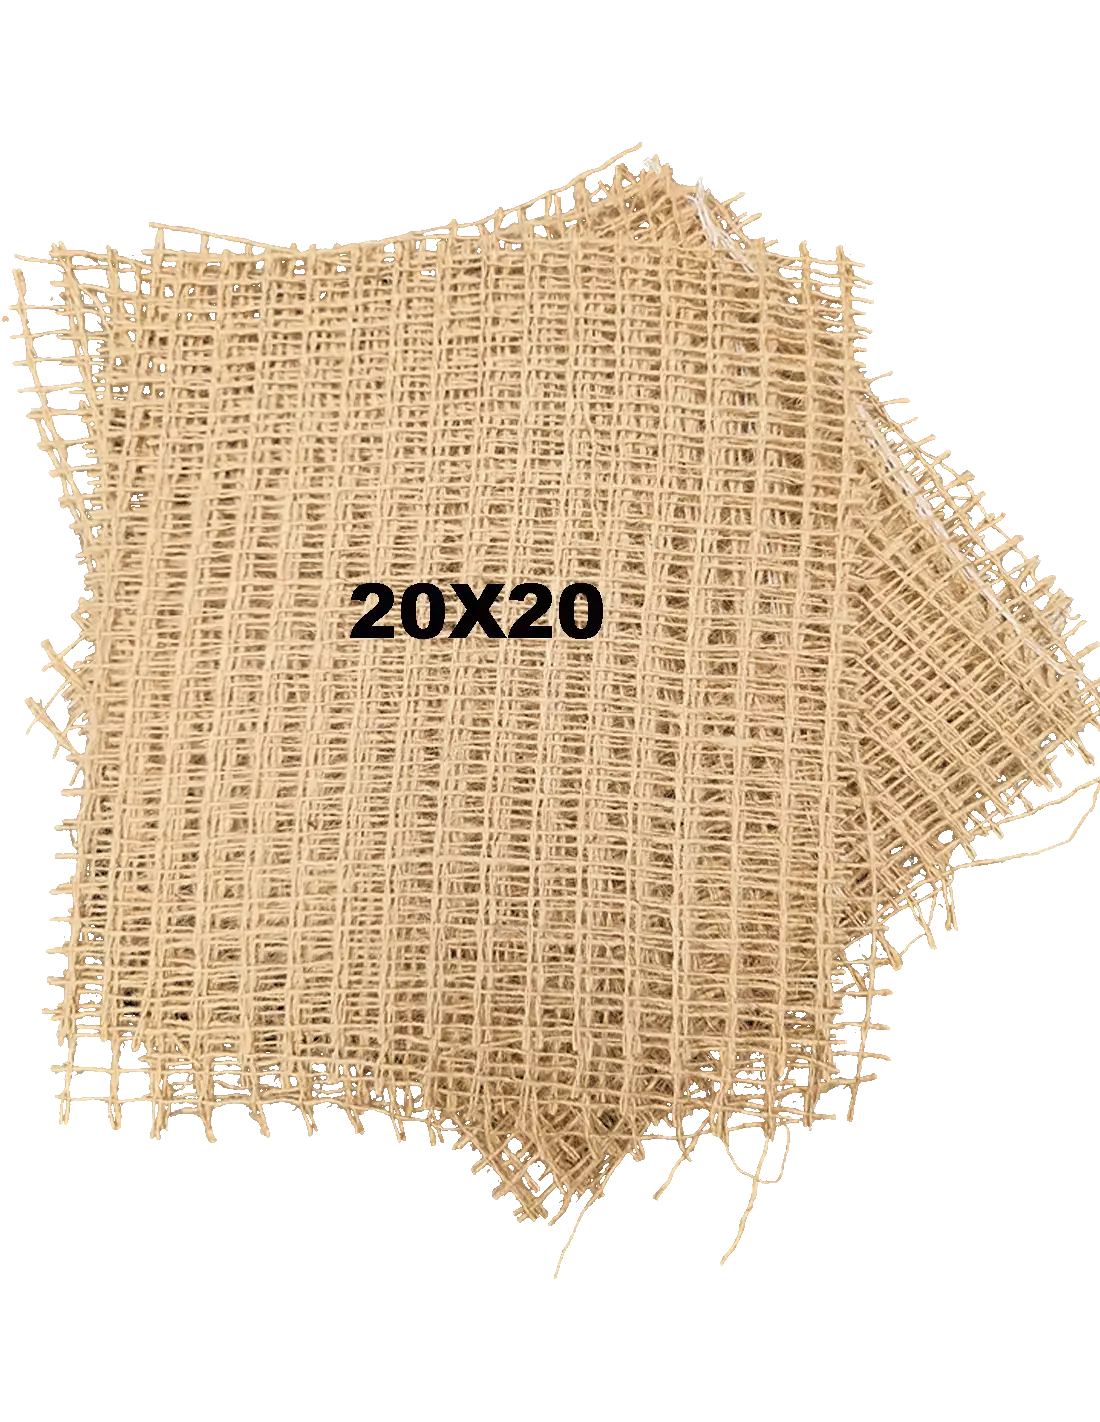
Precut Burlap
103300020
€7.00
8,47 € Tax incl.
8,47 € Tax incl.
100% natural pre-cut jute burlap for plaster reinforcement. 4mm weave, 82 gr/m². Available in 20×20 cm (22 pieces) and 30×30 cm (20 pieces) formats.
Pre-cut jute burlap is the go-to textile reinforcement for plaster work, mother moulds and scenic structures. Coming already cut into uniform pieces, it eliminates the measuring and cutting step in the workshop, significantly streamlining your workflow. 100% natural, lightweight and high-strength fabric, compatible with Exaduro plaster and any other moulding plaster or gypsum.
Technical specifications
| Parameter | Value |
|---|---|
| Material | 100% natural jute |
| Weight | 82 gr/m² |
| Weave | 4 mm |
| 20×20 cm format | 22 pieces — approx. 1 m² |
| 30×30 cm format | 20 pieces — approx. 2 m² |
| Finish | Pre-cut, ready to use |
What it's used for
Plaster-impregnated burlap is a classic modelling and structural reinforcement technique that combines the flexibility of the fabric with the rigidity of plaster once set. It is especially useful in all kinds of artistic, scenic and technical moulding work where both lightness and strength are required at the same time.
- Reinforcement and construction of plaster mother moulds for silicone mould making
- Creating rigid shells or mother moulds over flexible moulds
- Lightweight scenic structures: mountains, rocks, walls, set pieces
- Scale models and prototypes with complex geometry
- Makeup and special effects applications: prosthetics, masks, scene backgrounds
- Reinforcement of body moulds (Life Casting) together with plaster bandages
- School and educational modelling projects
How to use it
- Prepare the plaster by mixing the powder with water until you get a smooth, creamy consistency. The usual ratio is 100 parts plaster to 60–70 parts water (check the instructions for your specific plaster, such as Exaduro).
- Submerge each piece of burlap in the plaster mix until it is completely saturated.
- Remove the excess by running the piece between two fingers or gently pressing it against the edge of the container.
- Place the piece on the base structure, mould or area to be reinforced. Shape it with your hands so it adheres and takes the desired form.
- Overlap layers by 2–3 cm between pieces to ensure structural continuity.
- Apply as many layers as the thickness and rigidity you need — usually 2–3 layers are sufficient for a standard mother mould.
- Allow to dry completely in the air until the piece is rigid and cold to the touch. Do not force drying with direct heat during the first few hours.
Tips and tricks
Choose the piece size according to your part's geometry
The 20×20 cm pieces are more manageable in curved areas, corners or small parts: they conform better without forming creases. The 30×30 cm pieces speed up work on flat or large-format surfaces where there is no complex geometry to follow.
Combine with plaster bandages for greater control
If you need a very rigid shell with a clean exterior finish, alternate layers of impregnated burlap with prefabricated plaster bandages. The bandages give a cleaner finish on the outer face; the burlap provides the structural bulk on the inside at a lower cost.
Apply a release agent before building the mother mould
If the burlap and plaster shell is going to be used as a casing over a silicone mould or over another plaster piece, always apply a release wax or petroleum jelly to the contact surface. Otherwise, the plaster may bond and make it impossible to separate the pieces without damaging them.
Frequently asked questions
How many layers of burlap do I need for a strong shell?
For a mother mould or shell for standard workshop use, 2–3 layers of pre-cut burlap impregnated with plaster are sufficient. If the piece will be subjected to pressure or frequent handling, you can add a fourth layer and reinforce the edges with additional strips. The pre-cut burlap makes it easy to build up layer by layer without interruptions.
Which plasters is this burlap compatible with?
It is compatible with any plaster or gypsum that is mixed with water: Exaduro, Arquero, Aladur and general-purpose plasters. Jute fibre is inert and does not interfere with the setting of any of these materials.
Can it be used for body moulds (Life Casting)?
Yes, plaster-impregnated burlap is a classic option for building the outer shell of body moulds. It is applied over the already-set alginate or silicone mould to give it rigidity. For moulds directly on skin, plaster bandages are usually more comfortable to handle. Check the alginate and plaster kit if you are getting started in Life Casting.
Is there a difference between pre-cut burlap and buying it on a roll?
Functionally they are identical: same jute fabric, same weight and weave. The pre-cut version simply eliminates the time and material waste involved in cutting in the workshop. It is especially useful on projects where you are working with several people or need to move fast while the plaster is within its working window.
Can I use resins instead of plaster as the impregnation material?
Jute burlap is intended primarily for impregnation with plaster or gypsum. For working with polyester or epoxy resins as impregnation material, it is more appropriate to use specific fibres such as chopped fibreglass strands, which offer better chemical compatibility and greater final mechanical strength.
How do I prevent the plaster shell from sticking to the silicone mould?
Apply a generous coat of release wax over the silicone before you start laminating with burlap and plaster. Plaster tends to bond mechanically to rough textures, so do not skip this step. Avoid solvent-based spray release agents on silicones, as they can damage the mould surface.
How much working time do I have before the plaster starts to set?
It depends on the plaster you use. Exaduro, for example, offers around 10–15 minutes of working time. Prepare manageable quantities and work efficiently. Since the burlap is already pre-cut, you can have the pieces ready in advance and dip them one by one as you place them, making the most of the working window.
Which format suits me best, 20×20 or 30×30?
If you are working on pieces with curves, reliefs or irregular geometry, the 20×20 cm pieces conform better. If your project involves broad, relatively flat surfaces (scene backdrops, decorative panels, large structures), the 30×30 cm format will let you cover more surface in less time.
No reviews
Tap to zoom