Shopping Cart

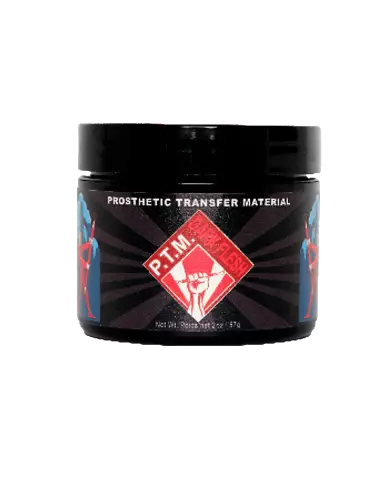
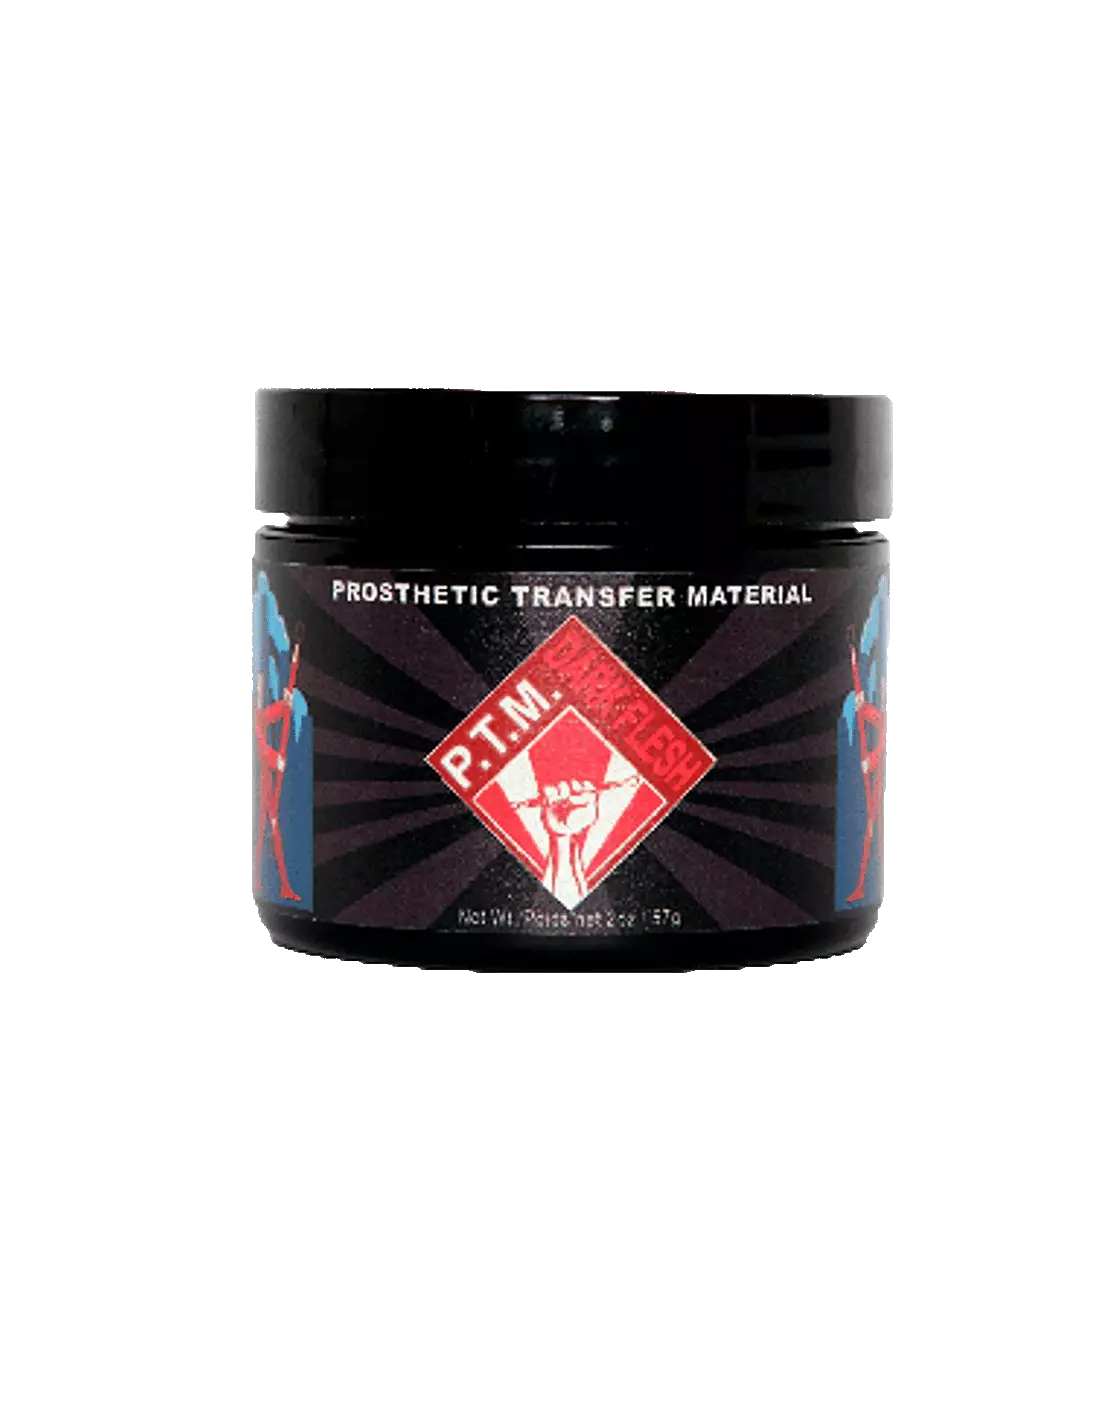
PTM - Dark Flesh
591400700
€35.00
42,35 € Tax incl.
42,35 € Tax incl.
PTM Dark Flesh: material for high-quality prosthetic transfers. Dark shade with reddish undertone for dark skin tones. Formulated by Christien Tinsley.
PTM Dark Flesh is the go-to material for the immediate creation of high-quality prosthetic transfers —Bondo Transfers, Pro-Bondo Transfers and Pros Aide Transfers— straight from the jar. Formulated by Christien Tinsley, creator of the original process, this dark shade with a slightly reddish undertone is specifically designed to blend naturally with darker skin tones, delivering a convincing and professional finish.
Technical specifications
| Feature | Detail |
|---|---|
| Color | Dark Flesh (dark shade with reddish undertone) |
| Product type | Prosthetic transfer material (PTM) |
| Application | Bondo Transfers, Pro-Bondo Transfers, Pros Aide Transfers |
| Formulator | Christien Tinsley |
| Presentation | Available in two sizes |
| Use | Direct application from the jar |
What it's used for
PTM Dark Flesh is designed for professional FX makeup artists who need to create prosthetic transfers that seamlessly integrate with darker skin tones. Its formulation allows for fast and precise work, reducing application times on set or in the makeup room.
- Creating Bondo Transfers for character makeup
- Manufacturing high-definition Pro-Bondo Transfers and Pros Aide Transfers
- Applying thin-skin prosthetics on darker skin tones
- Wound, scar and skin texture effects on dark skin
- Character work in film, television and theatre productions
- Prosthetic makeup work requiring speed and tonal accuracy
How to use it
- Prepare the PTM-specific transfer paper cut to the desired size for the transfer.
- Apply PTM Dark Flesh directly from the jar onto the transfer paper or working surface, spreading it in a thin, even layer.
- Allow the first layer to dry until completely translucent. Drying time varies depending on the thickness applied and environmental conditions.
- Apply additional layers if more body or coverage is needed, allowing each one to dry completely before proceeding.
- Once the transfer is complete, apply the appropriate adhesive (Pros Aide or another transfer adhesive) onto clean, dry skin.
- Place the transfer on the area to be made up, press gently and carefully remove the paper.
- Blend the edges using dark-tone makeup palettes to achieve a seamless finish.
- Set the result with the sealing products standard to your workflow.
Tips and advice
Choosing the right shade
Dark Flesh is optimised for medium-dark and dark skin tones. If you're working with lighter skin, consider PTM Light Flesh. For uncoloured transfers or to mix your own shade, PTM Clear is the ideal alternative. Combining both gives you full control over the final hue.
Layer and thickness control
The key to a convincing transfer lies in the thinness of the layers. Always apply thin coats and allow each one to dry completely before the next. A transfer that is too thick loses its ability to meld with the skin and will show edges. On very dark skin tones, two or three layers are usually sufficient for optimal coverage.
Blending and final makeup
Although PTM Dark Flesh is formulated to integrate with dark skin tones, no transfer is an exact match for live skin. Always work the edges with Skin Illustrator palettes in suitable shades —especially the Dark Fleshtone Palette— to feather the transition between the prosthetic and the actor's natural skin.
Frequently asked questions
What types of transfers can be made with this material?
With PTM Dark Flesh you can create Bondo Transfers, Pro-Bondo Transfers and Pros Aide Transfers. The material is applied directly from the jar onto the transfer paper, allowing you to work without complex mixing or preparation.
Which skin tones is this colour suited for?
PTM Dark Flesh is specifically designed for medium-dark and dark skin tones. Its slightly reddish undertone helps achieve a natural transition with these shades. For lighter skin, the Light Flesh version delivers better results.
How many layers should be applied to get a good result?
It depends on the desired effect and thickness. In general, two or three thin layers —allowing each to dry completely before the next— are sufficient for a transfer with good structural integrity without sacrificing fineness. The thinner the transfer, the more naturally it will integrate with the skin.
What paper should be used to make the transfers?
It is essential to use paper specifically designed for prosthetic transfers. The PTM-compatible transfer paper available at Feroca ensures the correct release of the material once the adhesive is applied to the skin.
Can it be mixed with other PTM shades to adjust the colour?
Yes. PTM Dark Flesh can be combined with PTM Clear to lighten the shade, or with other colours in the range to customise the hue. This makes it possible to match any dark skin tone with precision.
Which adhesive is recommended for attaching the transfer to skin?
The most common adhesives for this technique are Pros Aide and equivalent transfer adhesives. The choice depends on the type of transfer created and the durability required for the job. Consult your FX supplier for the most suitable adhesive for each situation.
Is it necessary to apply makeup over the transfer after placing it?
It is always advisable to work the edges of the transfer with makeup to blend the transition. The Skin Illustrator Dark Fleshtone Palette and the Complexion Palette are ideal tools for this step, as they allow you to fine-tune the tone and texture of the final finish.
What is the difference between PTM Clear and PTM Dark Flesh?
PTM Clear has no base colour, making it ideal when you want to mix your own skin tone or when the transfer will be fully covered with makeup. PTM Dark Flesh already incorporates a specific shade for dark skin tones, reducing the amount of makeup needed in the finish and speeding up the process on set.
No reviews
Tap to zoom