Shopping Cart


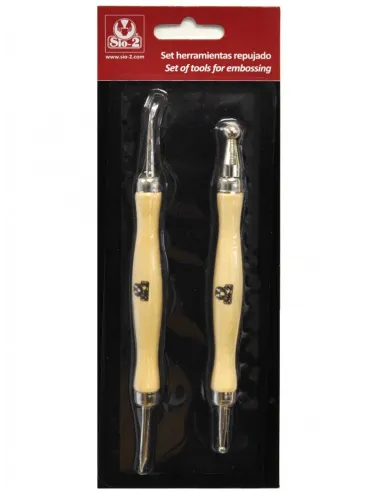
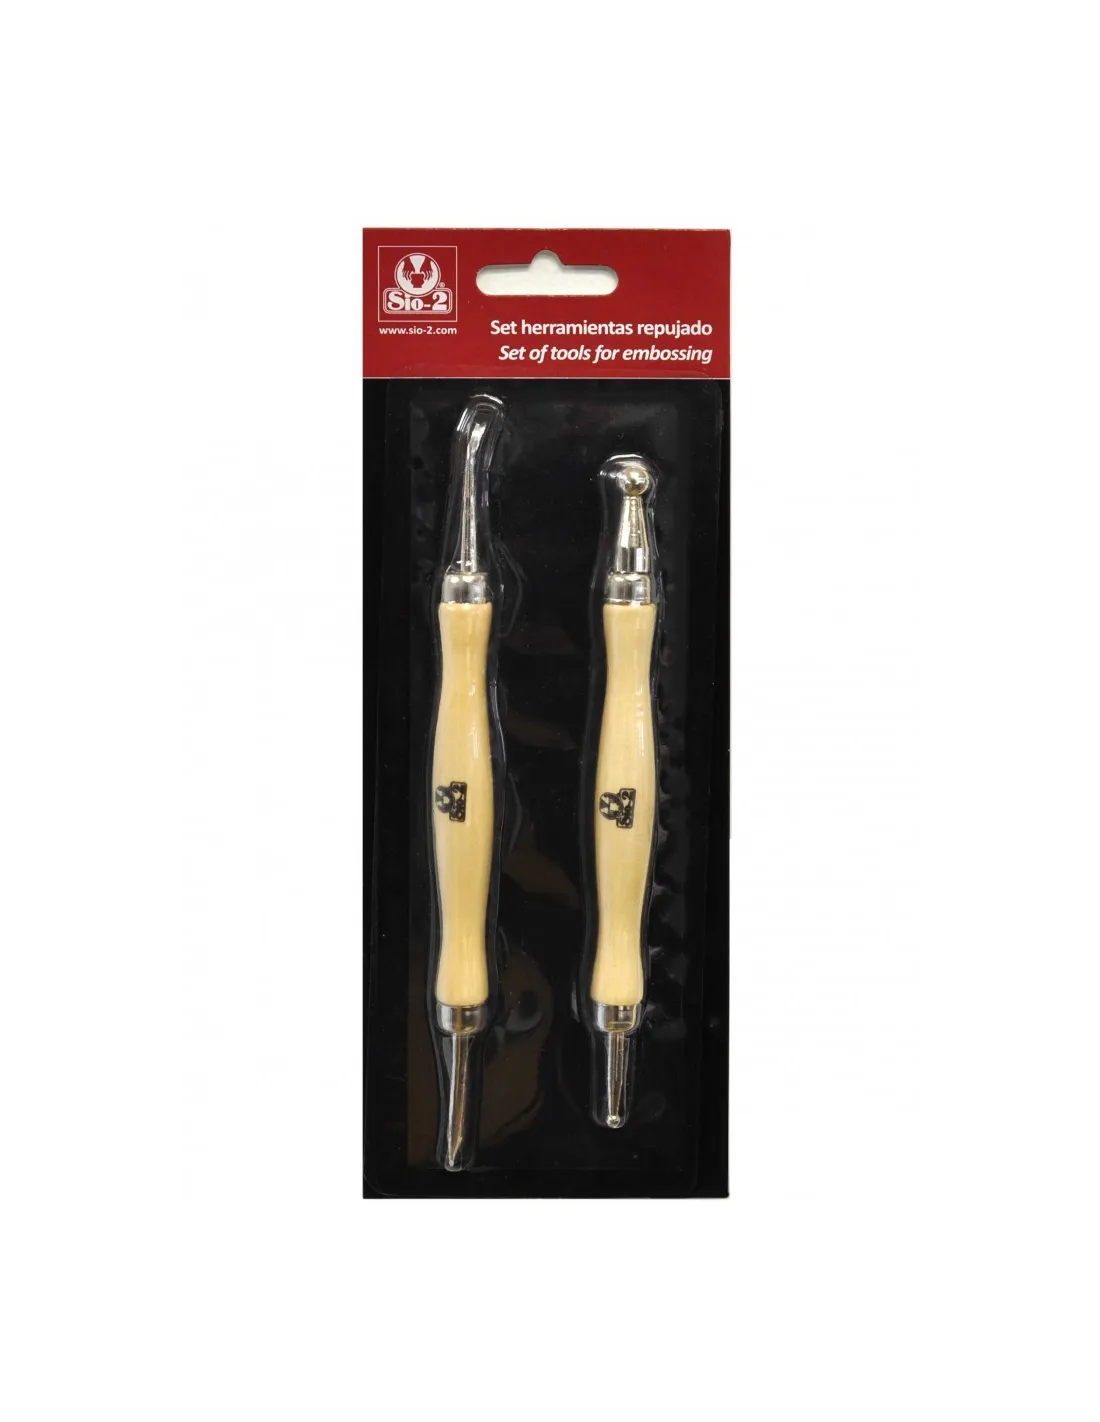
SIO-2 Embossing Tool Set
206801130
€10.00
12,10 € Tax incl.
12,10 € Tax incl.
Set of 2 double-ended embossing tools: paddle 5x20 mm + curved stylus, and Ø3 mm ball + Ø8 mm ball. Ideal for clay modelling.
The SIO-2 Embossing Tool Set includes two double-ended tools designed for working with polymer clays, air-dry clay and other modelling materials. With four different tips on just two handles, it covers everything from fine detail work to broad surface shaping without switching tools.
Technical specifications
| Tool | Tip A | Tip B |
|---|---|---|
| Tool 1 | Paddle 5 x 20 mm | Curved stylus |
| Tool 2 | Ball Ø 3 mm | Ball Ø 8 mm |
| Units in the set | 2 double-ended tools | |
What it is used for
This set is designed for sculpting and detail modelling, both in artistic work and in prototyping and special effects. The four tips cover complementary operations that come up constantly in the workshop:
- Shaping and smoothing surfaces with the flat paddle 5 x 20 mm
- Engraving lines, seams and textures with the curved stylus
- Creating cavities, eyes and spherical details with the Ø 3 mm ball
- Defining sockets and larger rounded forms with the Ø 8 mm ball
- Sculpting figures, dolls and collectible pieces in flexible polymer clay
- Embossing work in air-dry clay
- Finishing and touch-ups on modelling putties and pastes
How to use it
- Condition the polymer clay or modelling paste by kneading it until it reaches the right working consistency.
- Select the tip according to the operation: paddle for smoothing and blending, curved stylus for engraving lines, Ø 3 mm ball for small details and Ø 8 mm ball for broader shapes.
- Apply gentle, controlled pressure. On firmer clays you can slightly dampen the tip to reduce sticking.
- Alternate between the two tools in the set as the modelling progresses, moving from general forms (Ø 8 mm ball, paddle) to fine detail (Ø 3 mm ball, stylus).
- Clean the tips with a dry or slightly damp cloth between colours or materials to avoid contamination.
- Once the piece is finished, cure or dry the material following the manufacturer's instructions.
Usage tips
Pressure control depending on the material
Softer clays, such as Cosclay Glow, respond with very little pressure. On firmer materials, work with short, repeated movements rather than forcing the tool — this keeps control over the detail.
Recommended working order
Always start with the paddle and the Ø 8 mm ball to define volumes and large forms. Reserve the curved stylus and the Ø 3 mm ball for the final detail phase. Reversing this order causes fine details to become distorted when manipulating the mass afterwards.
Cleaning and maintenance
Do not let polymer clay residue dry on the metal tips. After each session, wipe with a cloth dampened with a little isopropyl alcohol to remove any residue. Store the tools in a case or holder to prevent the tips from bending.
Frequently asked questions
What materials do these tools work with?
They are designed primarily for polymer clays, air-dry clays and modelling putties. They also work with raw ceramic pastes, sculpting waxes and similar paste-consistency materials. The SIO-2 set is especially recommended for working with the range of Cosclay polymer clays.
Are these single-use tools or reusable?
They are fully reusable. With proper cleaning after each session they last a long time. The metal tips withstand continuous use on modelling materials without deforming or losing effectiveness.
What is the difference between using the small ball and the large one?
The Ø 3 mm ball is ideal for fine details: eyes, pores, small cavities or small-scale textures. The Ø 8 mm ball works larger areas: eye sockets on medium-sized figures, surface indentations or broad organic shapes. Using the wrong ball for each task creates marks at the wrong scale that are difficult to correct.
Can I use these tools with oven-cure putties?
Yes. These tools are used before curing, while the material is still in its raw state. They do not go into the oven: once modelling is complete, remove the tools and cure the piece according to the material's instructions. Cosclay Doll Angelic Rose Lite, for example, cures in a conventional oven.
How do I prevent clay from sticking to the tips?
With soft polymer clays, slightly dampening the tip with water or isopropyl alcohol reduces sticking. You can also wipe the tip across a smooth surface before applying it to the piece. If the material keeps sticking, cool the clay slightly before working with these tools.
Are they suitable for beginners?
Yes. The variety of tips on just two handles makes it easy to learn the basic functions of modelling without having to manage a large set from the start. They are a good addition both for beginners and for the sculptor looking for specific embossing and detail tools.
Where can I get technical support for these tools?
You can contact the Feroca technical team by calling 914 481 271, writing to [email protected] or through Feroca's social media channels.
No reviews
Tap to zoom