Shopping Cart

Epoxy resins for the body of the table
Choosing the right resin determines the quality of the result. For river tables the key criteria are low exotherm at large volumes, optical clarity and UV yellowing resistance. Depending on the thickness of the piece and the pour volume, you'll need one formulation or another.
High-depth resin: the main option for river tables
When the resin channel exceeds 3 cm in depth, the only safe option is a resin specifically designed for large volumes. ClearWater Deep Pour allows pours of up to 12 cm in a single session with no risk of thermal cracking, making it the go-to choice for large-format river tables.
 ClearWater Deep Pour Epoxi
Low exotherm, up to 12 cm per pour, UV resistance.
ClearWater Deep Pour Epoxi
Low exotherm, up to 12 cm per pour, UV resistance.
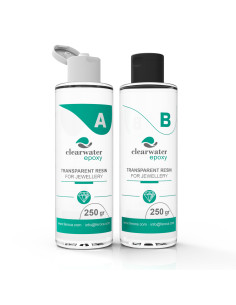 ClearWater Epoxi
Transparent, 1:1 mix ratio, thin pours up to 3 cm.
ClearWater Epoxi
Transparent, 1:1 mix ratio, thin pours up to 3 cm.
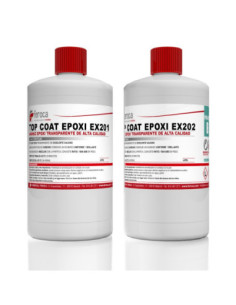 Epofer EX201+E202 Top Coat Epoxi
Surface finishing coat, crystal clear and self-levelling.
Epofer EX201+E202 Top Coat Epoxi
Surface finishing coat, crystal clear and self-levelling.
Multiple pours: if the channel in your table exceeds 3 cm in depth when using a conventional resin, split the process into layers of 2–3 cm and let each one reach the gel stage (firm to the touch but not fully cured) before pouring the next one. This prevents heat build-up that causes bubbles, cracks or yellowing. With ClearWater Deep Pour you can achieve thicknesses of up to 12 cm in a single operation.
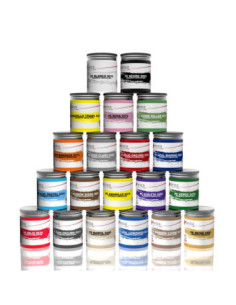
Pigments for creating the river effect
Colour is the soul of a river table. The best results are achieved with translucent dyes that let light through and create visual depth, sometimes combined with pearlescent or metallic pigments that add movement to the water effect. The key is precise dosing: just a few drops are enough to tint large volumes of epoxy without losing transparency.
Translucent dyes
For the water effect you need pigments that don't make the resin opaque. The translucent dyes in the UltraColor range and Piñata alcohol inks are the most versatile options: they dissolve completely in the epoxy mass and allow colour gradients ranging from deep blue in the centre to emerald green at the edges.
 UltraColor
Translucent dyes for epoxy, vivid and deep colours.
UltraColor
Translucent dyes for epoxy, vivid and deep colours.
 Piñata -Tintas al Alcohol-
Highly saturated, create gradients and water effects.
Piñata -Tintas al Alcohol-
Highly saturated, create gradients and water effects.
Pearlescent and metallic pigments
Pearlescent or golden reflections applied in small amounts to the translucent resin simulate the suspended particles seen in rivers and sea beds. Pearl Ex powder pigments and Magic Powder are ideal for this effect due to their full compatibility with epoxy systems.
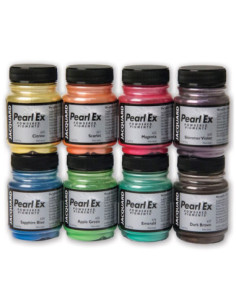 Pigmentos en Polvo Pearl Ex
Pearlescent and metallic, inert and stable in epoxy.
Pigmentos en Polvo Pearl Ex
Pearlescent and metallic, inert and stable in epoxy.
 Magic Powder
Brilliant metallic effect for table bases and riverbanks.
Magic Powder
Brilliant metallic effect for table bases and riverbanks.
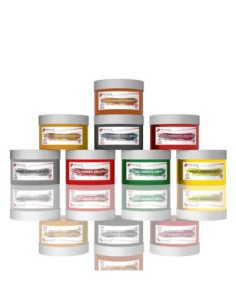
 Pigmento empastado
Opaque and concentrated, for solid colour areas.
Pigmento empastado
Opaque and concentrated, for solid colour areas.
Surface finishing and polishing
Once the resin has cured, the surface may show small imperfections, sanding marks or loss of gloss. A three-step polishing process — coarse, medium and fine compound — restores the optical clarity and mirror finish that characterises the best river tables.
 PolarShine 35
Removes deep scratches and sanding marks from epoxy.
PolarShine 35
Removes deep scratches and sanding marks from epoxy.
 PolarShine 10
Middle step, removes fine marks and evens out the gloss.
PolarShine 10
Middle step, removes fine marks and evens out the gloss.
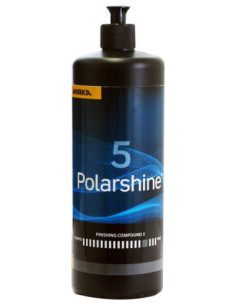 PolarShine 5
Final mirror finish on epoxy resin surfaces.
PolarShine 5
Final mirror finish on epoxy resin surfaces.
Accessories for the process
In addition to the resin and pigments, there are a number of auxiliary products that make the work easier and ensure a clean result: the tool cleaner and the accelerator to adjust working time according to workshop conditions.
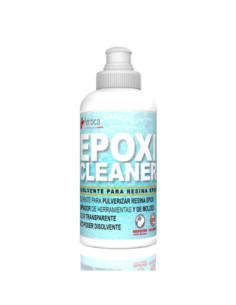 Epoxi Cleaner
Cleans tools, cups and surfaces with fresh resin.
Epoxi Cleaner
Cleans tools, cups and surfaces with fresh resin.
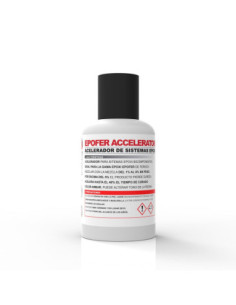 Epofer Accelerator
Reduces curing time between layers in multiple pours.
Epofer Accelerator
Reduces curing time between layers in multiple pours.
Step-by-step process: how to make a river table
| Phase | Operation | Recommended product |
|---|---|---|
| 1. Mould preparation | Assemble the melamine or laminated board formwork around the wood pieces. Seal joints with masking tape or neutral silicone. Apply release agent to the inner walls. | — |
| 2. Sealing the wood | Apply a thin unpigmented layer of resin over the wood to close the pores and prevent bubbles during the main pour. | ClearWater Epoxi / ClearWater Deep Pour |
| 3. Pigmentation | Mix the translucent dyes into the resin before pouring. Add pigment drop by drop until you reach the desired tone. For the gradient effect, prepare two or three mixes at different concentrations. | UltraColor, Piñata, Pearl Ex, Magic Powder |
| 4. First pour | Pour the pigmented resin slowly from the centre. If the thickness is less than 3 cm, ClearWater Epoxi can be used in successive layers. If it exceeds 3 cm, use ClearWater Deep Pour. | ClearWater Deep Pour Epoxi |
| 5. Bubble removal | Pass a plumber's torch on a low flame or a heat gun about 20 cm from the surface. Bubbles burst with the heat. Do not apply excessive heat or hold it for too long. | — |
| 6. Additional pours | If the design requires more layers, wait until the previous layer reaches the gel stage. Pour the next one before it fully cures to achieve a chemical bond between layers. | ClearWater Deep Pour Epoxi |
| 7. Top coat | Once the piece has been demoulded and the surface sanded with 400–800 grit paper, apply a final coat of epoxy top coat to restore the gloss and add surface resistance. | Epofer EX201+E202 Top Coat Epoxi |
| 8. Polishing | Polish in three steps: PolarShine 35 to remove marks, PolarShine 10 to refine and PolarShine 5 for the final mirror finish. Use an orbital polisher or a manual pad. | PolarShine 35, PolarShine 10, PolarShine 5 |
Frequently asked questions about river tables
What resin should I use if my table channel is more than 5 cm deep?
For thicknesses greater than 3 cm you need a low-exotherm resin designed for large volumes. ClearWater Deep Pour Epoxi allows pours of up to 12 cm in a single session. If you use a conventional resin at those thicknesses, the heat build-up can cause yellowing, internal cracks or formwork deformation.
How many pigments do I need for the water effect?
With two or three colours you can achieve a very realistic result. The most common combination is turquoise blue in the centre of the channel and emerald green at the edges, with a lower concentration near the wood to simulate the riverbed. UltraColor and Piñata inks are the most widely used for this effect because of their translucency.
Why do bubbles appear in the resin and how can I avoid them?
Bubbles have two main causes: the wood pores releasing air when they come into contact with the resin, and air being incorporated during mixing. To prevent the first type, apply a thin sealing coat before the main pour. To eliminate mixing bubbles, pass a torch on a low flame about 20 cm from the surface immediately after pouring. Always mix slowly and in circular motions, scraping the sides and bottom of the cup.
Does the resin yellow over time?
All epoxy resins have some sensitivity to UV radiation. ClearWater Deep Pour incorporates UV filters that significantly slow down yellowing. For tables exposed to direct sunlight, also apply a top coat with UV protection such as Epofer EX201+E202 and polish the surface with the PolarShine range to maintain the gloss over time.
Can I pour new layers over already cured resin?
Yes, but there is an important difference between a mechanical bond and a chemical bond. If you pour the second layer when the first is still in the gel stage (firm to the touch but not fully cured), you'll achieve a chemical bond between both layers, which is the strongest. If the first layer has already fully cured, sand with 120–180 grit paper and clean with Epoxi Cleaner before pouring the next one; in this case the bond will be mechanical but sufficient for most applications.
What minimum temperature do I need in the workshop?
It's recommended to work above 20 °C. Below that temperature the viscosity of the resin increases, the curing time lengthens considerably and some areas may not cure completely. The wood and the resin must both be at room temperature before you start; if the materials are cold, warm them gently before mixing.