Shopping Cart



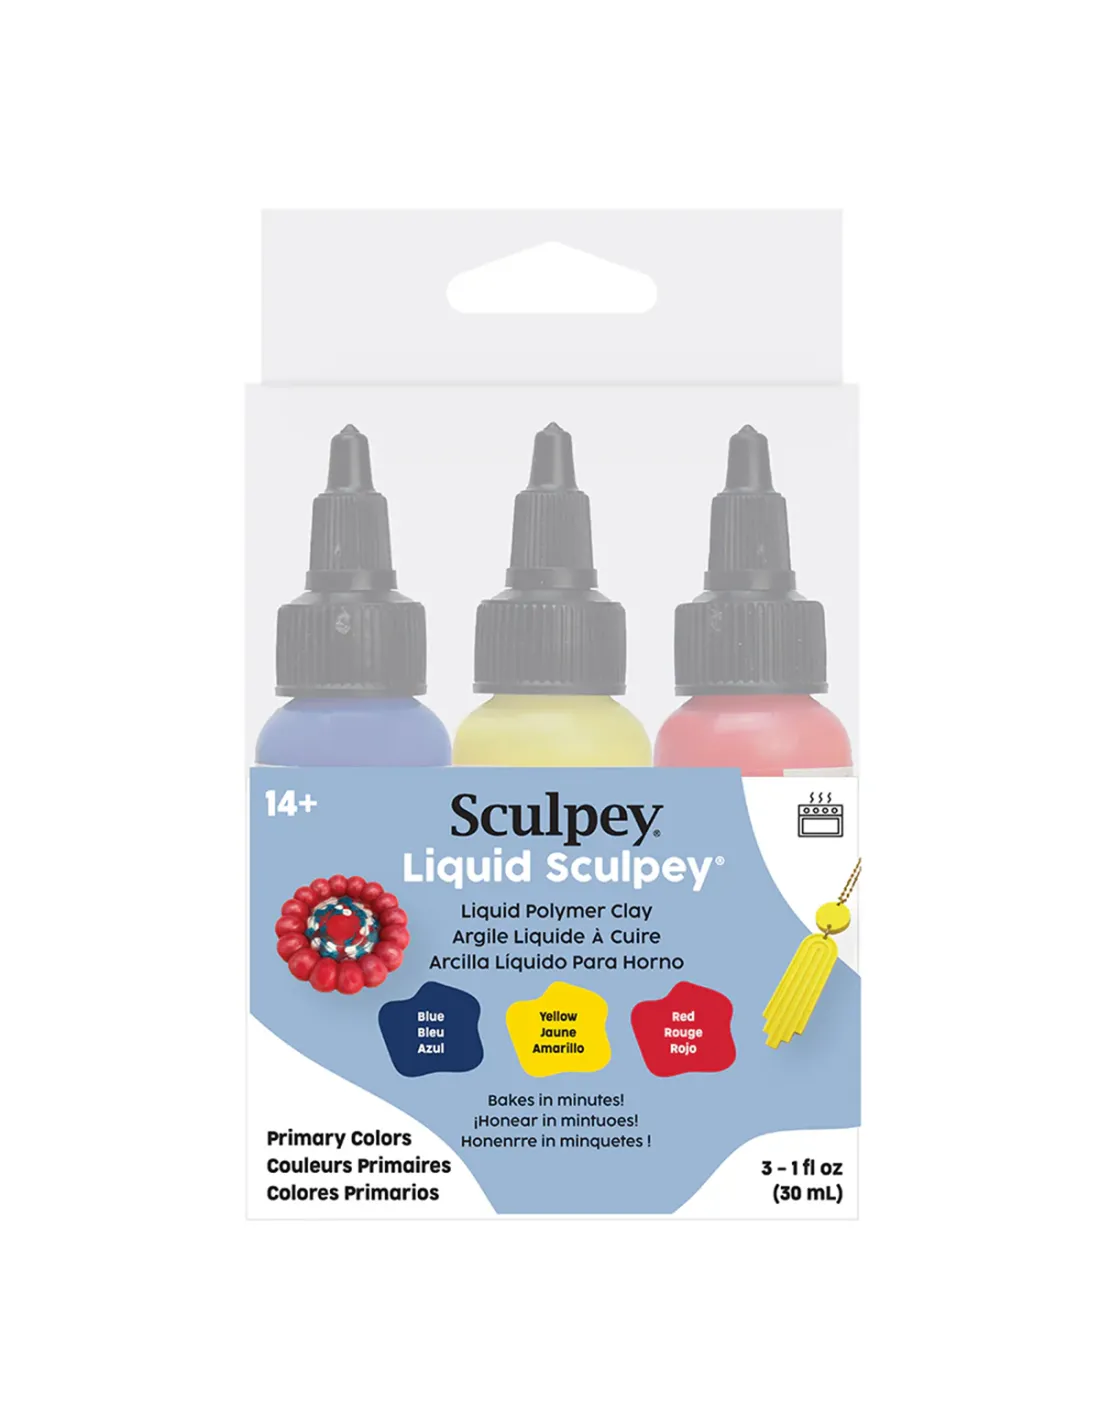
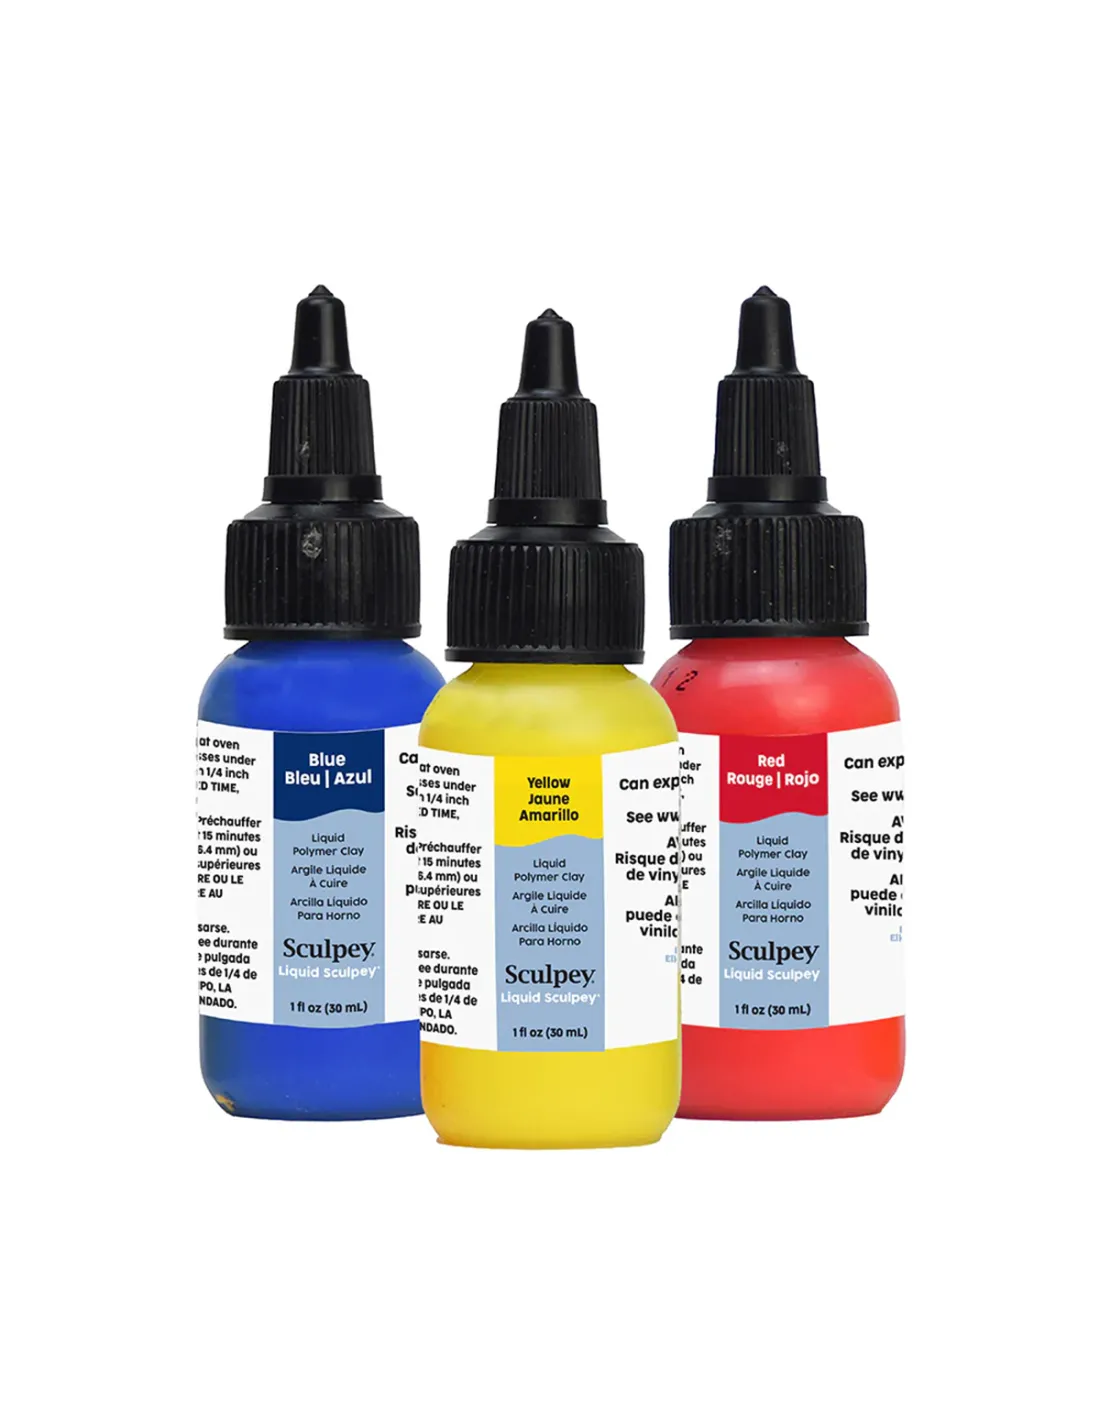
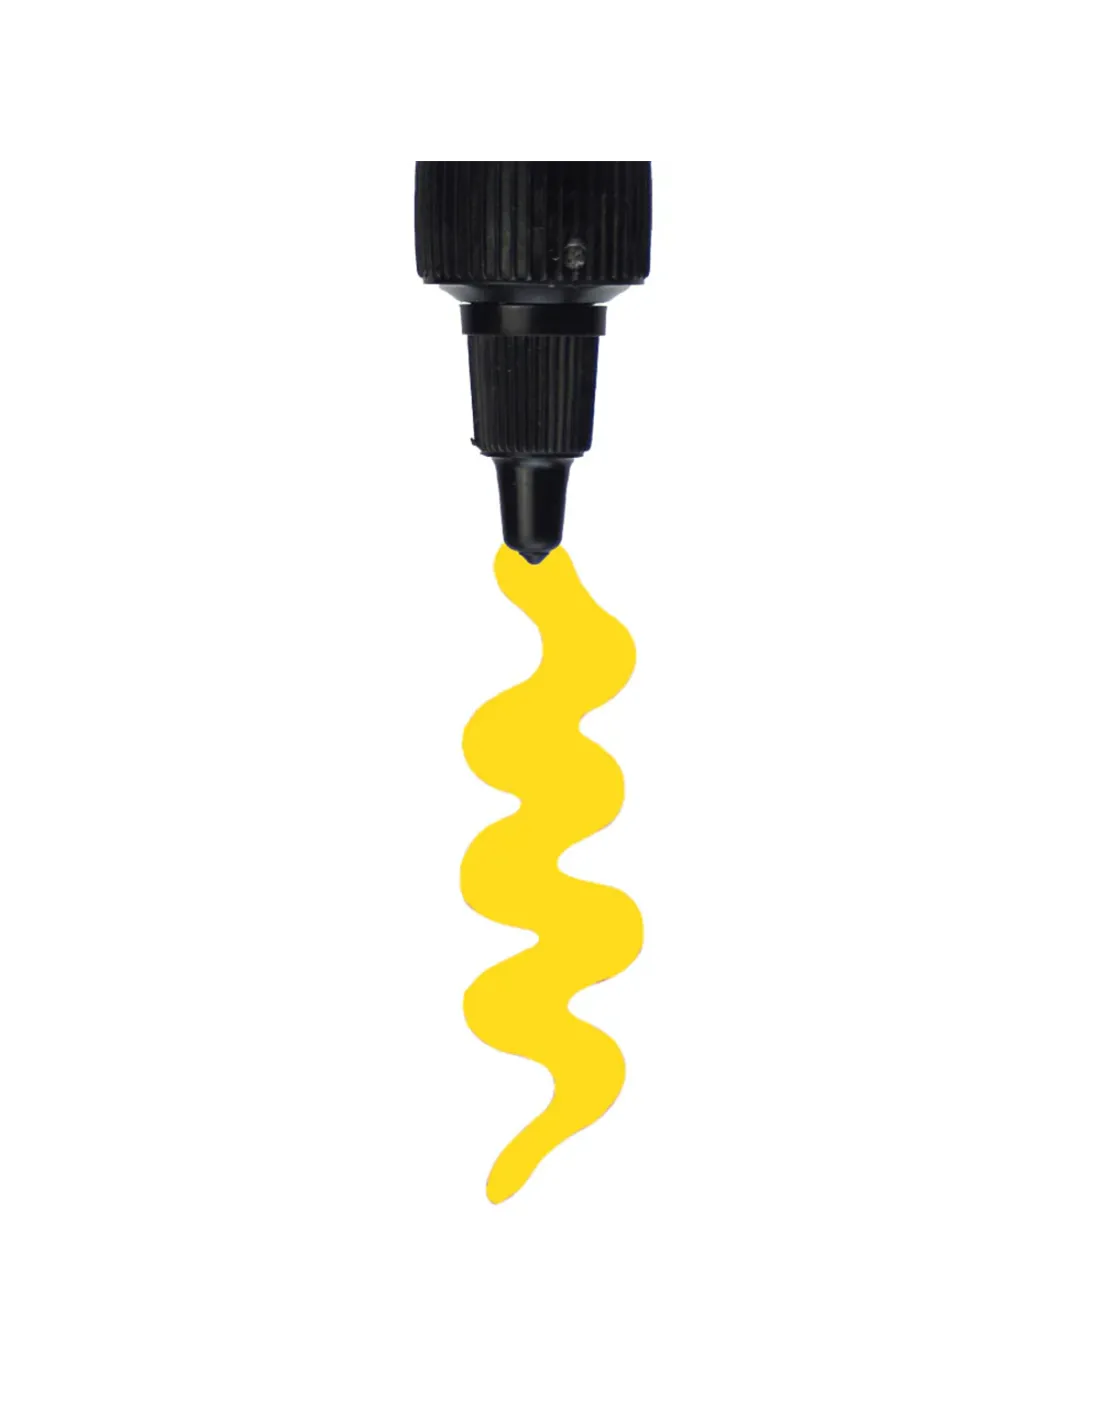
Liquid Sculpey Multi-Pack - Basic Colors (3x1oz)
204302700
€18.00
21,78 € Tax incl.
21,78 € Tax incl.
Pack of 3 liquid polymer clays (Clear, White, Black, 1oz each). Bakes at 130-149°C — ideal for molds, mosaics and encapsulated effects.
The Liquid Sculpey Multi-Pack Basic Colors brings together in a single pack the three essential shades —Clear (Transparent), White and Black— so you always have the indispensable neutral palette at hand for your liquid polymer clay projects. Each bottle contains 29.5 ml (1 oz) of a flexible and durable formula that you can pour into molds, spread into sheets, tint with alcohol inks, or use as an adhesive between already-baked pieces. A studio staple that saves time, mixing, and extra orders.
Technical specifications
| Parameter | Value |
|---|---|
| Material type | Liquid polymer clay (PVC) |
| Pack contents | 3 bottles × 29.5 ml (1 oz) |
| Colors included | Clear (Transparent), White, Black |
| Baking temperature | 130–149 °C (275–300 °F) |
| Baking time | 15–30 minutes in a conventional oven |
| Finish after curing | Flexible and durable; Clear cures to a translucent gel-like finish |
| Can be tinted with | Alcohol inks (Adirondack, Pinata, Ranger…) |
| Thickening / Thinning | Extended rest to thicken; Clay Softener to thin |
| Compatible additives | Glitter, dried flowers, spices, metal pieces |
| Toxicity | Non-toxic |
| Microwave use | Not suitable. Use conventional oven only |
What it's used for
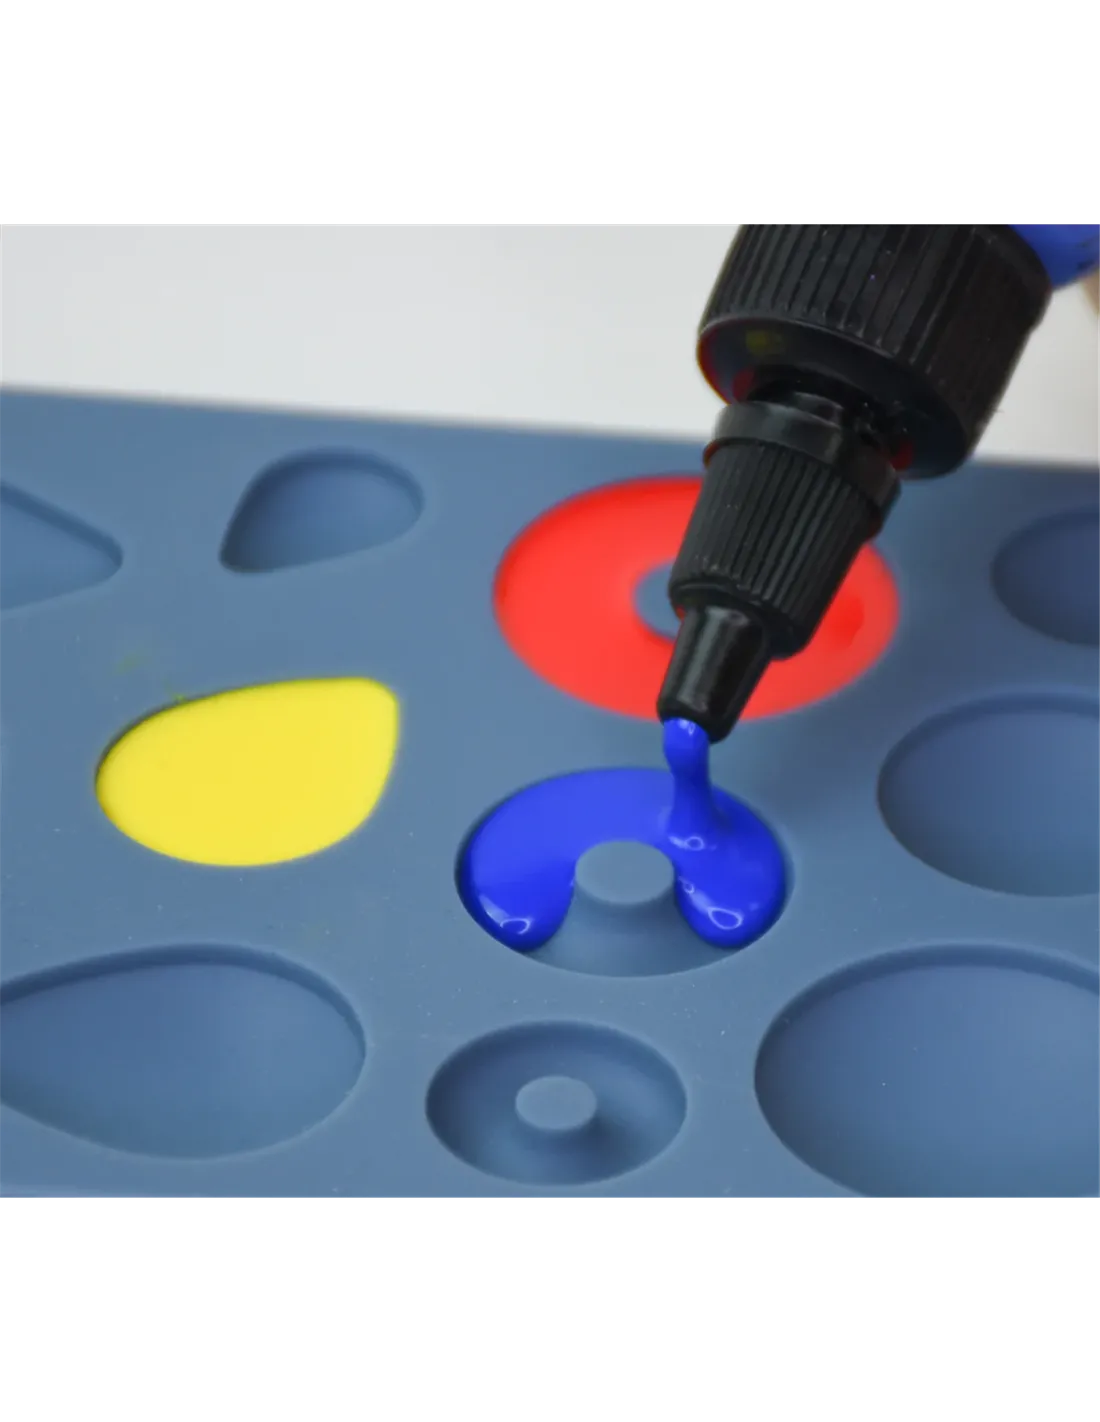
- Filling silicone molds to create versatile pieces in neutral colors that you can paint or combine afterwards.
- Grout and filling in polymer clay mosaic projects, covering gaps with precision.
- Image transfers onto cured surfaces using the Clear as a transfer medium.
- Window clings: pour Clear onto clean glass, bake, let it cool, and peel it off to stick to windows or other smooth surfaces.
- Encapsulation base: apply pigments, glitter, or decorative elements before baking to trap them inside the finished piece.
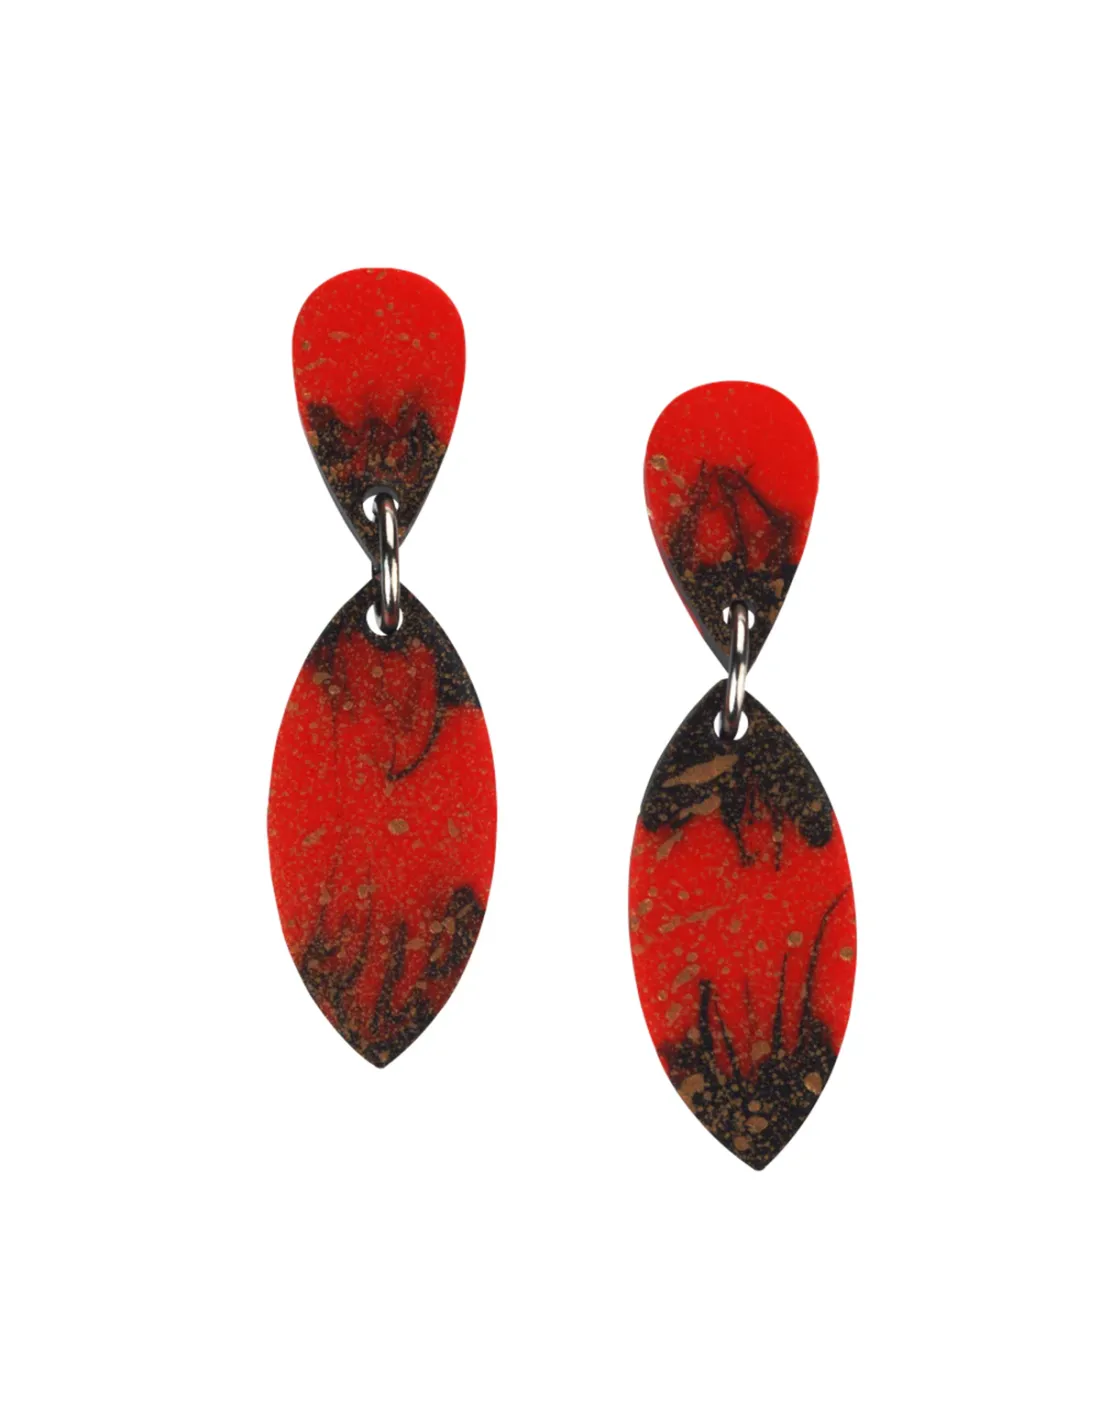
- Flat sheet laminating that you can cut and use as independent components in jewelry or other applications.
- Adhesive between cured pieces: a thin layer between two already-baked pieces and a second bake at 130 °C for 15 minutes bonds them durably.
How to use it
- Prepare your work surface: cover the oven tray with parchment paper, a silicone mat, or aluminum foil to prevent the liquid clay from staining and to make demolding easier.
- Dispense with the cap: shake the bottle gently before opening. Open the cap fully to pour into molds; leave it half-open to apply to details or specific areas with greater control.
- Customize before baking: add glitter, dried flowers, alcohol inks, letters, rhinestones, or small decorative pieces directly onto the uncured liquid clay; they will be encapsulated after baking.
- Bake in a conventional oven: place the pieces in the oven at 130–149 °C and bake for 15 to 30 minutes. Never use a microwave, as it does not distribute heat evenly and can ruin the piece or the appliance.
- Let cool before handling: remove the pieces from the oven and let them reach room temperature before demolding or touching them; handling them while hot can cause deformation.
Safety warning: use the oven only in well-ventilated areas. Do not exceed 149 °C: higher temperatures can generate irritating fumes. Never use a microwave under any circumstances. Keep the product out of reach of young children during use and baking. Although the formula is non-toxic, wash your hands after handling it.
Usage tips
Clear as a first layer in deep molds
First pour a thin layer of Clear into the bottom of the mold to capture all the surface details. Once it settles, add the final color on top —White or Black— and bake the whole piece together. This gives you a perfect surface finish with no bubbles in the areas of greatest detail.
The "encapsulated object" effect
Pour a layer of Clear into the mold or onto your work surface, place the decorative elements you want to trap —letters, dried flowers, rhinestones, pieces of metal leaf— and cover them with another layer of Clear or White. After baking, the elements are completely sealed inside the piece, protected and visible at the same time.
Mix White and Black for custom grays
You don't need to buy more colors to get grays: combine White and Black in different proportions in an auxiliary container before pouring into the mold. More White for light grays and more Black for dark grays. Stir well with a toothpick and adjust until you find the exact shade you're looking for in your project.
Frequently asked questions
Does the Clear stay completely transparent after baking?
The Clear cures with a consistency similar to silicone gel: translucent and slightly flexible, not completely colorless. If over-baked it can take on a slightly amber tone, so respect the indicated time and temperature (130–149 °C for 15–30 min) to achieve the cleanest possible result.
Can it be used as glue between already-baked pieces?
Yes. Liquid Sculpey acts as an adhesive between already-cured polymer clay pieces. Apply a thin layer between the two surfaces you want to join and bake again at 130 °C for approximately 15 minutes. The resulting bond is flexible and durable.
Which alcohol ink works best with it?
Adirondack, Pinata, or Ranger Alcohol Ink-type inks give the best results in combination with Liquid Sculpey. Just a few drops are enough to tint an entire 1 oz bottle evenly: add the ink drop by drop and stir until you reach the desired saturation before pouring into the mold or baking.
Can I make window clings with the Clear?
Yes. Pour the Clear onto a clean glass surface in the shape you desire, bake at 130–149 °C for 15–30 minutes, and let it cool completely. Once cool, it peels off the glass easily and can be stuck to windows, mirrors, or other smooth surfaces without any additional adhesive.
Related products
- Super Sculpey White — solid white polymer clay, ideal for combining with Liquid Sculpey White in mixed projects.
- Super Sculpey Beige — the classic flesh-toned translucent Sculpey clay for detailed sculpture and modeling.
- Liquid Sculpey Multi-Pack - Metallics — the companion pack with metallic shades (Gold, Silver, Copper) for brilliant effects.

No reviews
Tap to zoom